Under-cabinet lighting in your kitchen can come in many forms, from easy-to-stick-on LED fixtures to more complicated wired options. Whether you’re replacing under-cabinet lighting, looking to enhance task lighting for cooking, or wanting to add a stylish ambiance to your space, this step-by-step guide to installing under-cabinet lighting will walk you through the process, provide valuable tips, and give you insights into associated costs.
Learning how to install under-cabinet lighting can be tricky—particularly with wired options—so let’s dive in!
Types Of Under-Cabinet Lighting
There are multiple types of under-cabinet lighting to choose from, including:
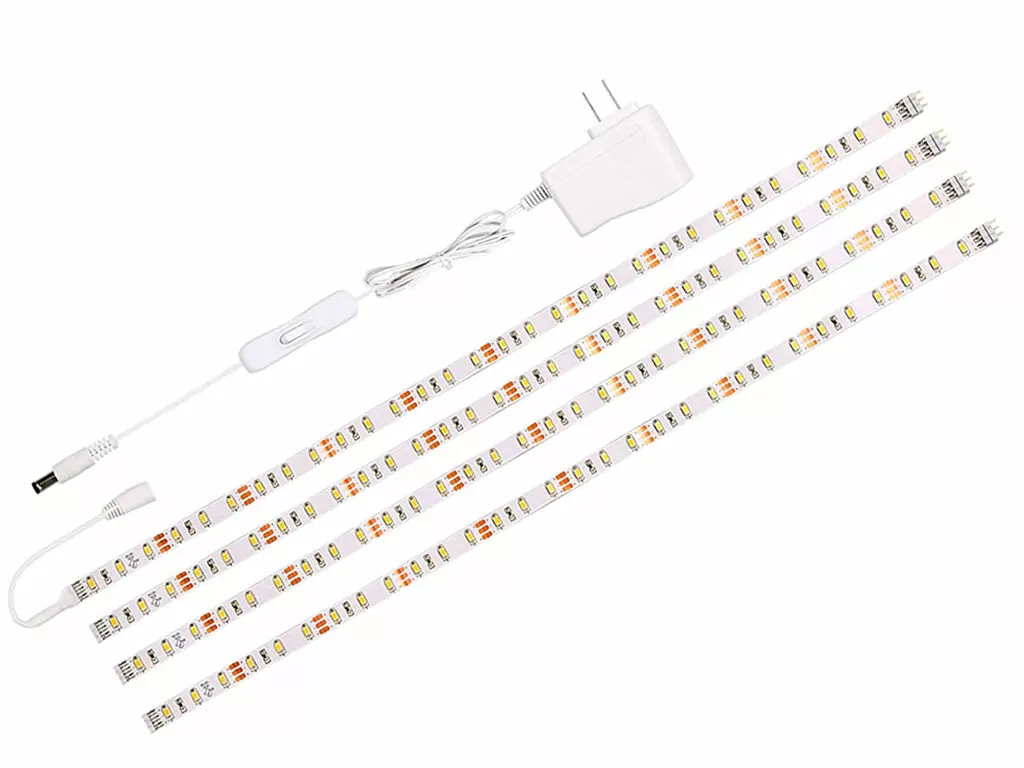
1. LED strip lights: These offer energy efficient under-cabinet lighting and come in many customizable colors. If you’re curious how to install LED strip lights under your cabinets, check the directions included with the lights you choose. Installing under-cabinet LED lighting can be a fast way to update your space!
2. Puck lights: These small, round fixtures provide focused lighting and can be surface-mounted or recessed.

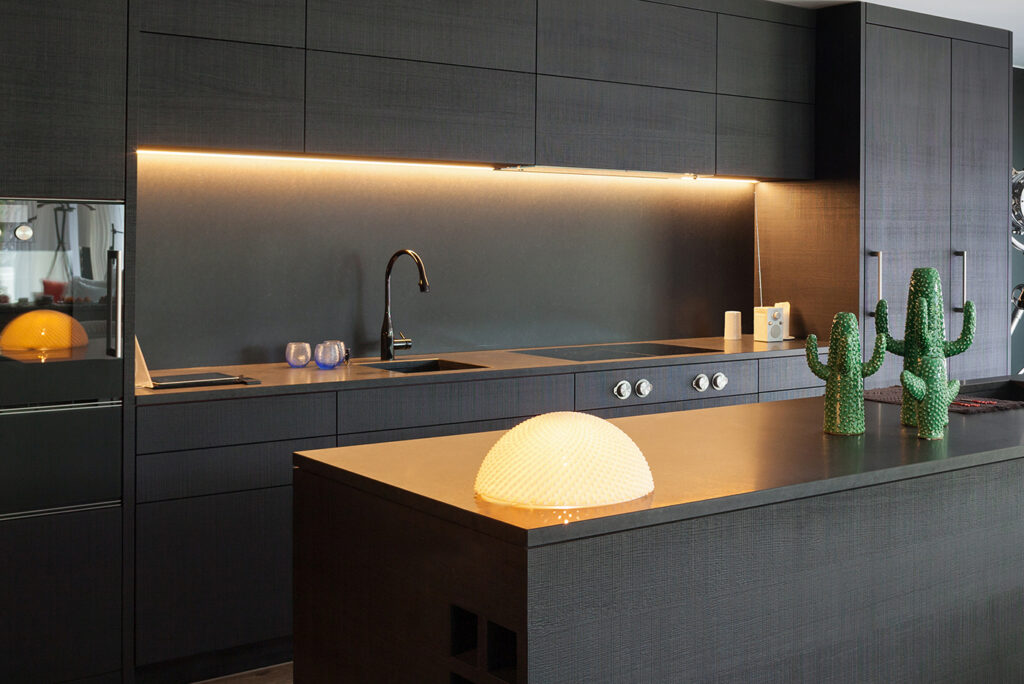
3. Light bars: Also known as linear light fixtures, these slim, elongated fixtures offer a broad spread of light, giving your space a sleek and modern look.

4. Rope lights: These cost-effective, bendable lights consist of a flexible plastic tube with LED bulbs encased inside, and they offer a diffused, ambient glow.

5. Tape lights: These thin and flexible strips of LED lights have adhesive backing for easy installation. They’re available in various colors and can create subtle or dramatic effects.

6. Xenon lights: Low-voltage, top-of-the-line Xenon lights require wiring and produce a warm, incandescent-like glow. A popular choice for under-cabinet lighting, they’re also dimmable and provide excellent color rendering, making them ideal for task lighting in the kitchen.

Tips For Selecting Under-Cabinet Lighting
When installing under-cabinet lighting, there are peripheral characteristics to consider. Different types of lights can have different results that greatly affect the look of your kitchen. So whether you’re wiring under-cabinet lights or sticking on easy under-cabinet lighting, consider the following:
- Color temperature: Warmer color temperatures (around 2700-3000K) create a cozy and inviting atmosphere while cooler temperatures (around 4000-5000K, closer to daylight) provide a brighter and more energetic feel.
- Energy efficiency: LED lights are highly energy-efficient and last longer than traditional incandescent or halogen bulbs. Look for under-cabinet lighting options that use LED technology to save on energy costs and reduce environmental impact.
- Color Rendering Index (CRI): This measures how accurately a light source represents colors. Higher CRI values (around 90 or above) ensure that colors appear more vibrant and true to life. A high CRI can enhance the appearance of your kitchen décor.
- Dimmability: Dimmable under-cabinet lights offer flexibility in setting the desired ambiance and controlling the brightness level.
- Longevity/durability: Look for under-cabinet lights that are built to last. Check for information on the lifespan of the bulbs or LED strips to ensure you won’t need frequent replacements. Also make sure they can withstand a kitchen environment, including heat, moisture, and cooking spatter.
- Installation method: Adhesive backed LED strips are easier to install as under-cabinet lighting than surface-mounted or recessed options. Choose a level of complexity you’re comfortable with!
- Angles and directionality: Some under-cabinet lights offer adjustable angles or swivel features, allowing you to direct the light precisely where you need it. This feature is particularly useful for task lighting purposes, as you can focus the illumination on specific areas of the countertop.
How To Wire Under-Cabinet Lighting
When you’re wiring under-cabinet lights, you’ll need to plan on installing lighting with wires inside the walls, inside cabinets, or both.
Estimated Time
1 day
Tools & Materials Needed To Install Wired Under-Cabinet Lighting
Before diving into the process of installing under-cabinet lighting, it’s essential to gather the necessary tools and materials that will ensure a successful project. The cost to install under-cabinet lighting can vary based on which method you choose, but here’s a general overview of the cost, which includes lights, tools, and other materials:
- Lights: $50-$250
- Power drill: $99-$150
- Screwdriver set: $20-$30
- Pliers: $6-$20
- Measuring tape: $3.00-$25.00
- Level: $5-$50
- Wire connectors: $2.00-$10.00
- Romex electrical cable (14/2 or 12/2 gauge): $0.39-$1.08 per foot
- Wire nuts: $4
- Electrical tape: $3-$10
- Wire staples: $2-$10
- Wire strippers: $15.00-$30.00
- Voltage tester: $15.00-$30.00
- Junction box: $5-$15
When you’re learning how to install hardwired under-cabinet lighting (and not just how to stick on LED under-cabinet lights), you’ll need to prepare for a more complicated process than you’ll get from battery powered lights. Still, the end result can be very rewarding!

Preparing To Install Under-Cabinet Lighting
Here’s a quick breakdown of how to prepare for installing wired under-cabinet lights:
- Plan the layout: Determine the desired placement and layout of your under-cabinet lights. Consider factors such as the location of power outlets, the size and shape of your cabinets, and the areas you want to illuminate.
- Gather materials: Make a list of all the necessary materials and tools you’ll need for the installation. Get hints from the list above!
- Turn off power: Before starting any electrical work, ensure the power to the kitchen area is turned off at the breaker panel. Use a voltage tester to verify that there is no electricity flowing to the circuit you’ll be working on.
- Measure and mark: Use a measuring tape to determine the exact placement of your lights. Mark the locations where you’ll install the mounting brackets or clips for the fixtures. Use a level to ensure the marks are straight and level.
- Find a power source: Knowing where your power outlet is will help determine how you go about wiring under-cabinet lighting. If a prewired circuit is already available, great! That means you won’t have to run new wiring. Just remember to assess the compatibility and capacity of the pre-wired circuit to ensure that it can handle the electrical load of your lights. If you need to build a new electrical infrastructure, it can be time consuming. You’ll have to run new wire to an existing power source, which may involve navigating ceilings, walls, and other obstacles. At times like this, you may want to hire a Tasker or other licensed electrical professional to help!
For Wiring Under-Cabinet Lighting
1. Safety first
Again, be sure to turn off power before starting any electrical work, including wiring.
2. Wiring a power source
- To wire a power source for under-cabinet lighting, begin by identifying a suitable pre-wired circuit, such as an existing outlet or junction box. You may need to cut a new hole in the wall for a switch box that you can wire to your power source.
- Ensure compatibility with the electrical requirements of your lights, and assess the circuit’s load capacity. Per Family Handyman, you can run this test by shutting off the circuit in your main electrical panel before going through your house and switching on other electrical items. Add up the wattage of everything that doesn’t switch on (meaning everything on that circuit), and then add the wattage of your lights. Maximum connected loads of 1,440 watts for a 15-amp circuit and 1,920 watts for a 20-amp circuit are recommended.
- If a pre-wired circuit is unavailable, consult a licensed electrician to establish a new electrical infrastructure. This involves finding an existing power source inside the wall, mounting a junction box, and running wires through mounting ½ inch metal flex tubing between the power source and junction box—not something you should attempt if you don’t have electrical experience. Consider hiring a licensed electrical Tasker instead!
- Once the power source is determined, you can start running wires that you’ll later connect to your lights.
Remember: Electrical code regulations don’t allow any connections to “dedicated” circuits, which means you can’t use the outlets that you use for countertop appliances. You can, however, use a switch box that has a hot, neutral, and ground.
3. Mounting And Connecting Your Wired Under-Cabinet Lights
- Follow your lights’ manufacturer’s instructions to mount or recess the lights under your cabinets.
- Again following the manufacturer’s instructions, connect the lights to your established power source.
- Make secure electrical connections by properly insulating them using wire connectors and electrical tape.
- Test the lights to ensure they are functioning correctly.
4. Wiring a switch or dimmer
Before you add a switch or dimmer, you’ll have to determine whether your house has neutral wiring—most houses built from the 1980s onward do have it, and they’re indicated by a bundle of white wires. If you’re unsure how to determine this, consult a licensed electrician or licensed Tasker. Then follow these steps:
- Make sure the power is off. Test it by flipping the switch on and off or by using a voltage tester.
- Make sure the bulbs in your under-cabinet lights are dimmable.
- Make sure your dimmer switch is rated for your specific types of lights and their bulbs.
- If you’re working in a spot that has an old switch, remove the old switch. If you see a bundle of white wires at the back, you can leave these in the wall.
- Note whether you’re using a 3-way dimmer switch or a single-pole dimmer switch, then follow the manufacturer’s guidelines for installation, as the two types of switches differ. (They each involve different types of wiring.)
- Turn the power back on, and test the switch or dimmer switch to make sure it is working properly.
- Once your switch is connected, fit the wires neatly into the electrical outlet box, and tighten the screws that are connecting it to the switch.
- Attach the wall plate over the switch by screwing or snapping it into place.

Cleanup & Wall Repair
After installing under-cabinet lighting, you’ll need to clean up any messes, patch up any holes in your wall, and potentially repaint. Because this process can be a hassle, you may want to hire a Tasker for drywall repair, painting, or both.
Factors That Affect The Average Cost Of Installing Under-Cabinet Lighting
As you can see, “easy” under-cabinet lighting isn’t always easy, and costs can vary based on a number of factors, including:
- The size of your kitchen and the amount of wiring required
- What types of lights you choose
- How much electrical work is required (wiring, cutting, and infrastructure building)
- How much cleanup and wall repair are required
- Whether you already own or have access to the tools required
- Whether you’re embracing under-cabinet lighting DIY or wanting to hire outside help
Whichever method you choose, adding under-cabinet lighting to your space will illuminate it in an entirely new way!