Step-By-Step Guide On How To Fix A Leaning Fence
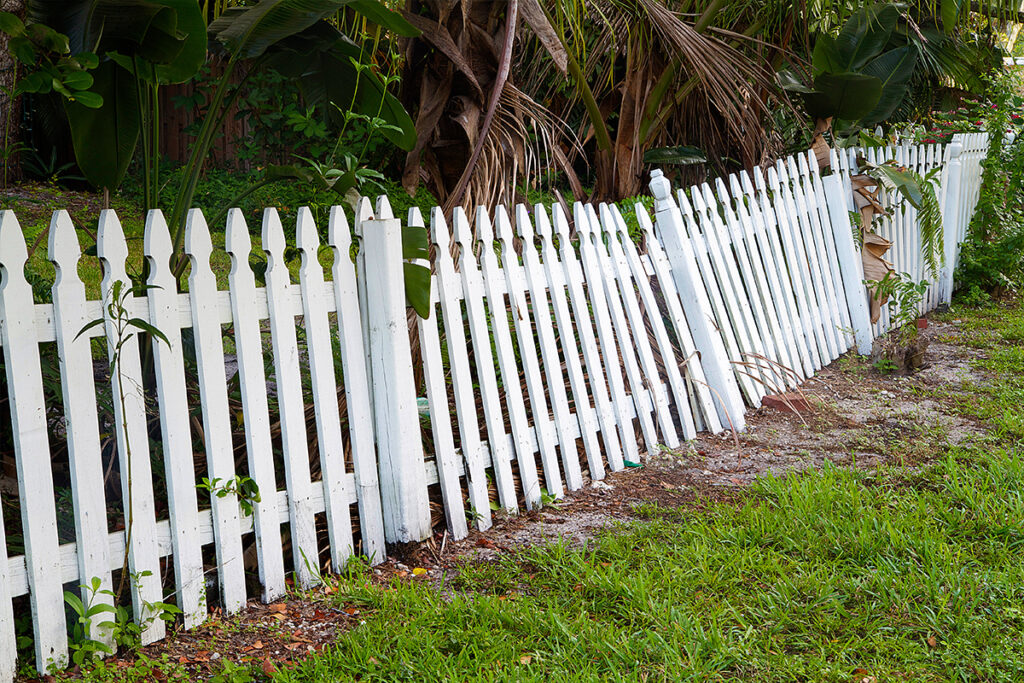
Stable and secure fences are important for defining property boundaries, enhancing the visual appeal of your yard, and providing privacy. But what happens when soil erosion, bad weather, or aging materials cause the fence to lean and become unstable? Does it mean the entire fence has to be replaced?
Not so fast! If you’re facing this challenge, don’t fret. In this comprehensive guide, we’ll walk you through the step-by-step process of how to fix a leaning fence—and give you alternative solutions and important safety tips to ensure a successful and lasting repair.
Tools And Materials Needed To Fix A Leaning Fence
Learning how to replace a fence can be fun, but before diving into your leaning fence repair, it’s important to gather the right tools and materials. Here’s a list of items that will help you ensure a smooth and efficient fix:
- Safety goggles
- Work gloves
- Shovel or demolition bar
- Post hole digger
- Measuring tape
- Saw
- Screws and nails
- Hammer and/or drill
- Pliers
- Level
- New wooden fence posts, panels, or rails
- Support beams or braces (to help stabilize the fence as you work)
- Quick-setting concrete mix (for securing any new fence posts into place)

Before Getting Started
Before you start repairing your leaning fence, it will help to consider the safety and legal factors that might be at play. Follow these guidelines to ensure a smooth repair process:
- Call 811. This is the national “call before you dig” number and will help you identify any underground utility lines that might be running near your fence. If necessary, you can connect with your power company to request utility markers.
- Check local regulations. Make sure everything you’re doing is aligned with building codes, regulations, and local laws regarding fence replacements.
- Consider if you need to contact any neighbors. Given that fences often straddle property lines, you’ll want to make sure you’ll actually be digging on your own property.
- Put on your protective gear. Always wear safety gear like goggles and gloves to protect yourself from injuries as you repair your leaning fence.
Steps For Fixing A Leaning Fence

You’re now prepared to fix your leaning fence—awesome! When it comes to doing the actual step-by-step process of fixing the fence, follow these steps:
Step 1: Diagnose The Situation
The first step in fixing a leaning fence is to figure out the root cause of the problem. Are there any screws loose? Are the wooden posts rotting? Is shifting soil contributing to the fence’s instability? Understanding the underlying issue will help you determine what steps to take to successfully repair the fence.
Step 2: Contact Your Neighbors
If you’ve deduced that your fence is indeed bordering neighboring property, it’s important to inform your neighbors about your repair plans. Communication always helps mitigate any misunderstandings, and you may even be able to solicit their cooperation, especially if the repair might impact their side of the fence. Ensuring a smooth experience for neighbors can also bolster your sense of community!
Step 3: Get Extra Help
If your neighbors don’t want to help or are unavailable, consider getting help from family or friends. Wooden fence posts and boards can be heavy, and you may need more hands and strength than you have to successfully repair the damaged areas. Safety first, always!
Step 4: Relieve Pressure On The Fence & Remove Obstacles
Before you start repairing your fence, it’s extremely important to relieve any pressure on the leaning fence section. If it’s feasible, use sturdy beams or braces to support the affected post (or posts). Ideally, this will help prevent further damage to the fence and create a safe space for you to start your repair work.
Furthermore, if there are obstacles in the way of your work—including plants—you may need to remove or relocate them temporarily as you repair your leaning fence. Note that these obstacles could be the reason for your leaning fence, so it may take some extra planning to figure out how you want the space to look once the project is complete.

Step 5: Straighten The Fence
To straighten a leaning wooden fence post, you’ll need to dig around it with a shovel until you hit the concrete base holding up the post. If the concrete is broken, it might be part of the reason the fence is leaning in the first place. If this is the case, you may need to use your quick-setting concrete mix in the next step!
Step 6: Refill The Hole
If your leaning fence was caused by a loose or poorly stabilized post, you’ll need to reinforce the newly straightened post when refilling the hole you dug. Here’s how you can do it:
- With a post hole digger, dig around the base of the post to fully expose the hole. Make sure to dig deep enough to give your post a stable foundation.
- Before placing your post, consider adding a layer of gravel or crushed stone to the bottom of the hole. This can help with water drainage and prevent rot over time.
- Next, mix your quick-setting concrete according to the manufacturer’s guidelines. You’ll likely need to add water to the mix until the mix has a thick, consistent texture.
- Once your concrete mix is poured into the hole, place the fence post back into it. Use a level to make sure the post is standing perfectly vertical and aligned with the rest of the fence.
- Once the post is straightened, pour the rest of your concrete mix into the hole around it, filling it to the top. Remove any air pockets in the concrete with a shovel or trowel, and make sure it’s distributed evenly.
- Use support beams to prop up the fence post, and make sure it stays vertical as the concrete sets. This can take several hours to a full day, depending on your specific concrete mix.
Step 7: Paint Or Stain Any New Fence Pieces
If you’ve had to use any new wooden posts or panels for your fence repair, you may need to paint or stain them. Choose a color that matches the rest of the fence or one that will give your fence a fresh look!

Alternatives To Fix A Leaning Fence
Sometimes your leaning fence is leaning for a bigger reason than just being “off kilter.” This may require you to assess the situation from a more holistic perspective and find an alternative solution to your problem.
If The Post Is Working
When everything is structurally sound and external factors like shifting soil or heavy vegetation are causing your post to lean, you can reinforce the fence post by connecting diagonal fence post support beams or braces between the failing post and a vertical post. In an “X” formation, attach a beam from the top of one post down to the base of the other. Do this on both sides for extra fence post support.
If The Post Is Rotted
If your wooden fence post is rotted, you’ll need to replace it. Learning how to replace a fence post can be an involved process, as it will require removing fence panels and rails and fully repairing the stretch of fence on either side of the old post. To proceed with the fix, remove the panels and rails, then place a new post by repeating the steps outlined in the “Steps For Fixing A Leaning Fence” section above. Once your new post is placed, continue by reattaching the unrotted rails and panels (knowing that any rotted pieces in these sections may also need to be replaced).
If You Can’t Access The Other Side Of The Fence
When a fence is situated close to walls, structures, or neighboring properties you don’t have access to, repairing them can be a challenge. If this is the case with your fence, you can use a steel fence post support or post anchor on the interior side of the fence. These metal supports are designed to attach to existing posts and provide extra stability—just make sure they are anchored firmly in the ground as well.
When To Hire Help?
It can be a fun DIY project to repair a fence, but sometimes, professional help is definitely the smartest choice. If you’re not confident in your repair skills or if the damage is extensive, you may want to call in an experienced Tasker to help!


