How to Disassemble a Pool Table in 7 Steps
If you’re planning to move with a pool table, you won’t want to skip the disassembly. You should disassemble your pool table to ensure it can make it to your next destination safely and without damage, but the process can be rather tedious and requires a good deal of caution for safety reasons. Many people opt to outsource this task, but if you’re curious about how to take apart a pool table before moving it, this step-by-step guide will walk you through it!
Before Getting Started
Because pool tables are heavy—yet fragile—pieces of furniture, safety should be your top priority during pool table disassembly. It’s important to note that this job requires close attention to detail and is a higher safety risk than some others because of how heavy the pieces are.
Ensure you have a clear, well-lit workspace with enough room to lay out and organize the disassembled components. Avoid accidents by using the right tools for the job. Inadequate or mismatched tools can make the disassembly process more difficult and increase the risk of damage.
Tools Needed to Disassemble a Pool Table:
- Socket wrench set with various socket sizes
- Screwdrivers (both Phillips and flathead)
- Adjustable wrench
- Plastic bags or containers for organizing hardware
- Zip ties or Velcro straps (for securing rails and other loose parts)
- A friend or helper for assistance
How to Disassemble a Pool Table
1. Remove the Pockets
Here’s how to take apart a pool table. Begin by removing the pocket liners from each of the table’s pockets. Pocket liners are usually held in place by screws. Use a screwdriver to loosen and remove the screws. Carefully take out the liners and set them aside.
2. Unscrew Rail Bolts
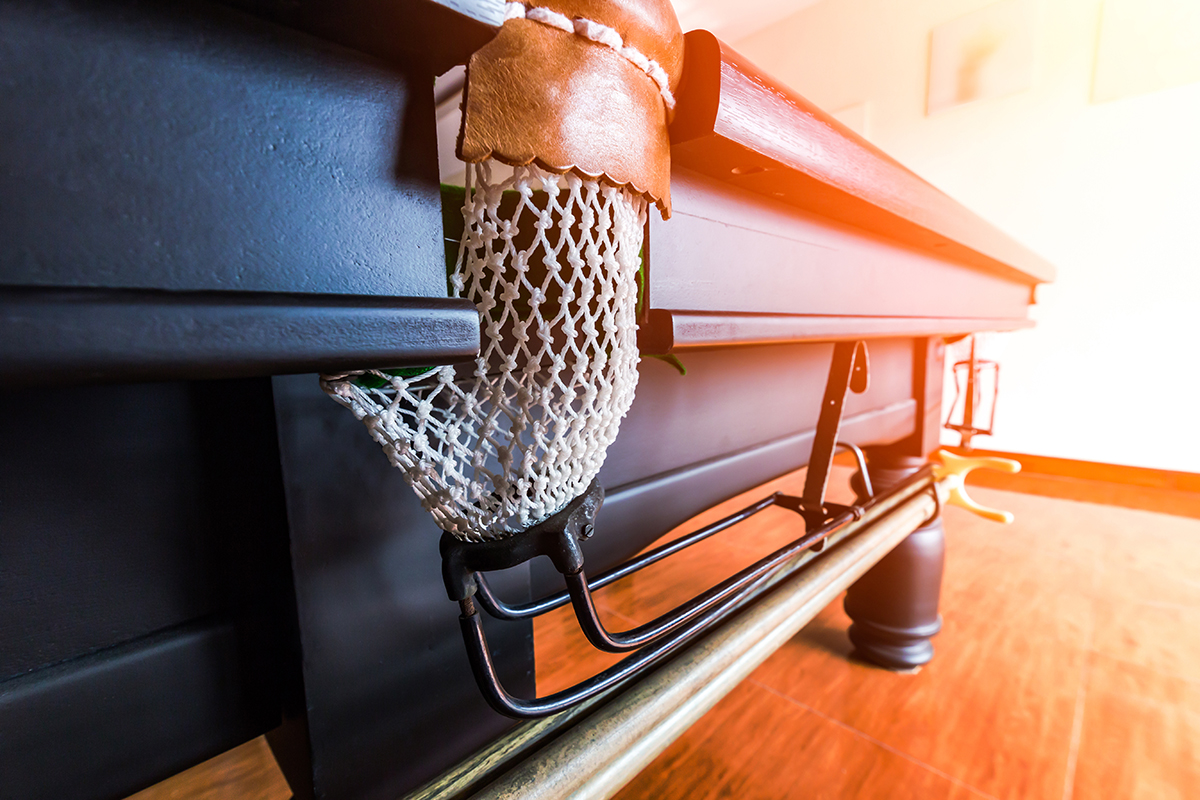
Locate the rail bolts beneath the pool table. These bolts secure the rails to the frame. Use a socket wrench or an adjustable wrench to unscrew and remove these bolts. Keep the bolts and washers organized in a bag or other clear container.
3. Remove the Corner Miters and Aprons

The corner miters and aprons provide stability to the table and are typically attached with screws. Use a screwdriver to remove the screws and gently lift off the corner miters and aprons. Set them aside carefully.
4. Remove the Rails

With the rail bolts removed, carefully lift and detach the rails from the pool table. Rails can be heavy, so it’s advisable to have a helper assist you in this step. Place the rails in a safe location, away from potential damage.
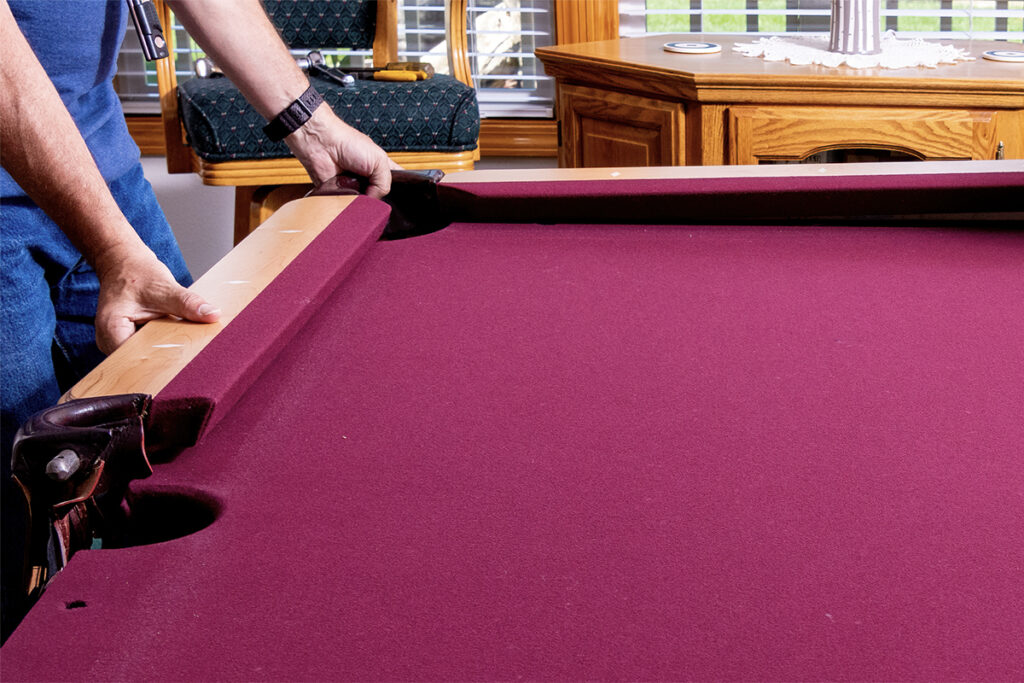
5. Remove Fabric
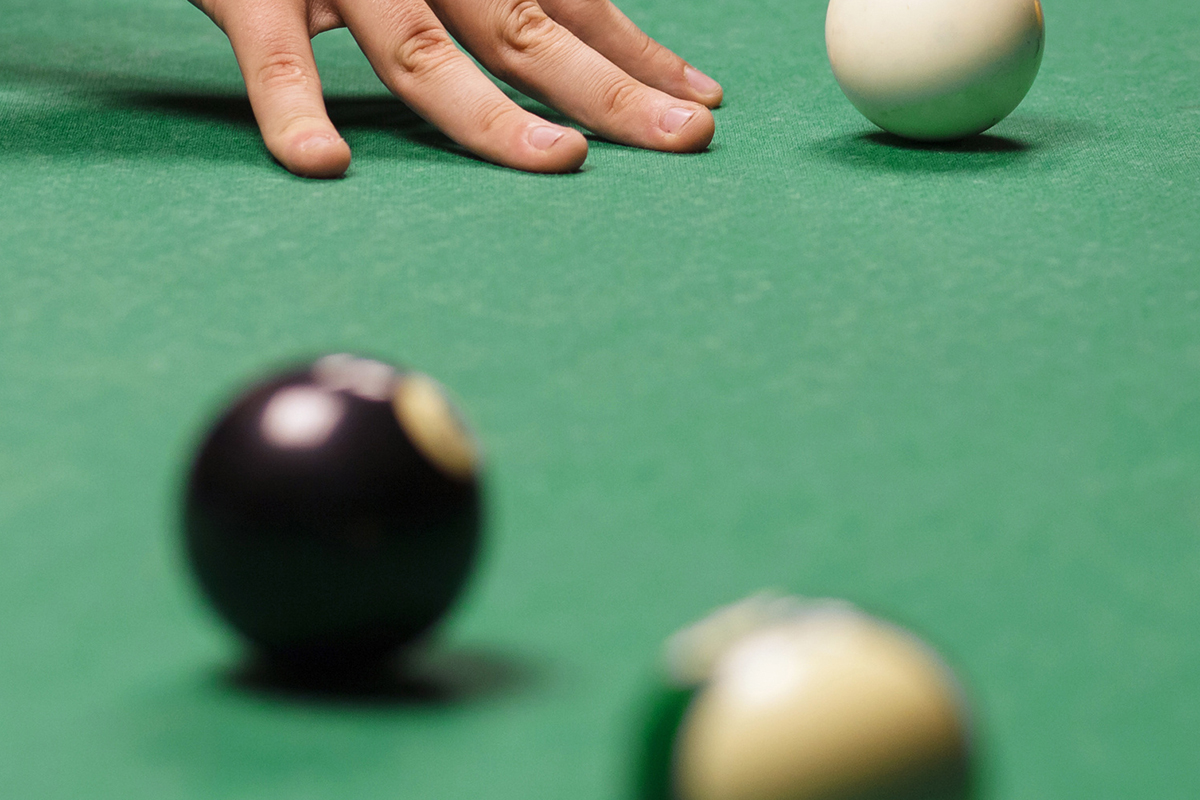
There will be staples keeping the felt in place on the table. Working your way around the table, carefully remove the staples. Then, you can remove the felt. Start at one corner and slowly work your way across to keep the fabric from damage. Roll up the felt as you go to keep it clean and free of debris.
6. Remove Slate Pieces

Each piece of slate is weighty and can be damaged easily, so it’s essential to remove them carefully. Use a drill to remove the screws holding each piece of slate to the pool table. Set the pieces aside in your bag or container. Then, carefully lift each piece off the frame, preferably with help from a partner.
7. Disassemble the Frame (if necessary)

Some pool tables have a detachable frame. If your table is one of them, look for screws or bolts holding the frame components together. Carefully disassemble the frame and label its components for ease of reassembly.
How to Reassemble Your Pool Table
Pool table assembly is essentially the reverse of pool table disassembly, but there are a few key differences to keep in mind. Again, having other people to help is important!
Begin by attaching the legs to the frame if you previously removed them. Locate the bolt holes on the frame where the legs were previously secured. Use the appropriate fasteners, such as bolts or screws, and tighten them securely. Having a helper to hold the table steady during this step is crucial to ensure stability.
Next, reattach the rails back onto the table using the rail bolts and tighten them using a socket wrench or adjustable wrench. Then place the corner miters and aprons back onto the corners of the table. Align them with the screw holes on the frame and secure them using screws. Slide the pocket liners back into their respective pockets, and use screws to secure them in place. Ensure that the liners are snugly fitted to prevent balls from getting stuck.
Lastly, carefully unroll the felt over the playing surface. Start at one end and work your way across, smoothing out any wrinkles or bubbles as you go. Ensure the felt is centered and securely attached to the slate, using adhesive if necessary.
Need Help?
If you find disassembling your pool table a bit too challenging or simply want to ensure a hassle-free experience, you’re not alone. That’s where Taskers come in! Taskers offer Furniture Assembly and Furniture Disassembly services, including pool tables, and can assist with moving your table to a new location. Taskers are ready to lend a hand if you need help with disassembly, reassembly, or transportation.