Security cameras are a great option to deter burglars and provide homeowners with peace of mind. Overall, installing security cameras is not inherently difficult but the complexity of the project expands with the increasing number of cameras and the level of camera sophistication. On average, you can expect this project to take anywhere between a few hours to a half day for a basic home security camera system. In this guide, you’ll get the breakdown on the ins-and-outs of security camera installation. So, let’s dive in.
Before Getting Started
There’s a few things you’ll want to know before moving forward with a home security system. See checklist below.
1. Decide Where to Place Security Cameras

The first step is to determine where you want your outdoor security cameras to go. At a minimum, entrances should be covered. Additionally, consider pointing cameras towards off-street windows, back doors, and other structures like garages or greenhouses. As you sketch out your plan, take note of factors such as access to power outlets, type of wall material, existing wiring, proximity to WiFi signals, and any other relevant details.
2. Choose the Right Security Camera

Now that you’ve outlined the preferred camera locations, the next step is to determine the type of camera that best suits your needs. The decision comes down to choosing between a wired and wireless camera surveillance system. Wireless cameras use the home’s WiFi to transmit data to cloud-storage, while wired cameras directly connect to a physical recording device. While wired cameras are more resistant to hackers, they require additional installation effort and become non-functional during power outages. On the other hand, wireless cameras are easier to install but may be less precise, and are more vulnerable to hacking. They’re also battery-powered meaning they will require periodic battery replacement or recharging. We’ll dive into how to install wireless security cameras and how to install wired security cameras more later on.
3. Gather Your Tools

Building on the last two steps, it’s time to gather your tools. Although most supplies will be included with the camera package, there’s always a chance you’ll need additional electrical tape or caulk and sealant, especially for an outdoor install. Additionally, some essential tools may not come with the camera package include a ladder, cordless drill, screwdrivers, and pliers. Make sure to have these items available before you start the install.
Installing Security Cameras
Before diving into the install, verify that your cameras work. The last thing you’d want is to discover a faulty camera after the mounting process is complete! With the preparations in place, let’s get started on installing the system.
4. Mount the Base

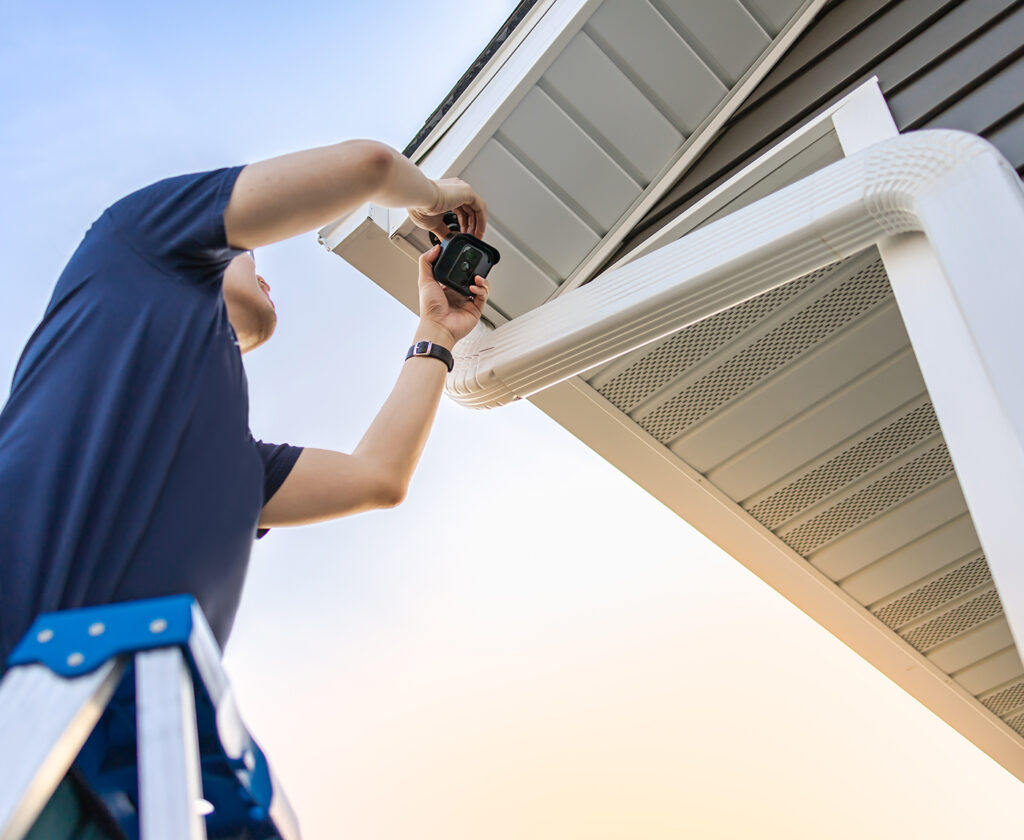
Select a sturdy surface for attaching the camera base. Keep in mind cameras should be mounted at least 10 feet off the ground to prevent any criminals from tampering with the devices. Also, aim for the optimal viewing angle. If lack of lighting is a challenge, consider installing an outdoor lamp. Most camera mounts include a drill template to assist in accurately placing screws. Use the template as a guide to drill pilot holes for the mounting screws. Insert any provided mounting pins by gently tapping them with a hammer. Lastly, secure the camera mount to the wall by screwing it into place.
How to Install Wireless Security Cameras
For wireless security cameras, make sure the batteries are charged. Then, set the camera up with the included software. This makes installation a breeze as you can check the software for the camera’s view while mounting, and adjust as needed.
How to Install Wired Security Cameras
When installing wired security cameras, you’ll run cables through the drywall to a DVR box. This involves drilling a larger hole at the center of the mount guide where the cables will exit. Thorough pre-planning is crucial to ensure the security camera cables can reach the location of the DVR box. When feeding cables behind walls and into tight spaces, fish tape helps. It’s important to note two important things: First, ensure the power is turned off during this step, and second, if you feel any discomfort or uncertainty, seek professional installation, or assistance from someone who’s better experienced instead.
5. Install Your Security Camera
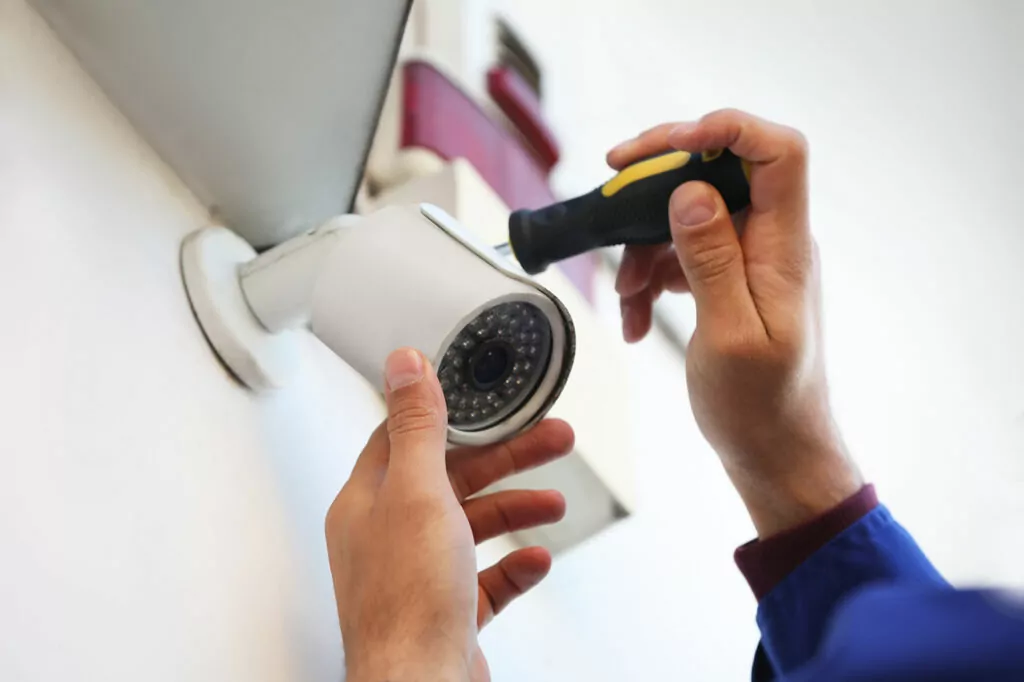
If using a wired system, begin by connecting the cable from the wall to the camera. Then, attach the camera to the power source, preferably running the cable along a ledge and securing the cord with cable clips. Finally, fasten the camera to the mount and adjust it to the desired angle. Repeat these steps at each location.
6. Connect It to the Network

For a wired system, connect the input cable of your wired camera to the DVR box, and make a note of which input port each camera is connected to. Then, link the DVR output port to the input slot of a monitor. Double-check that all components are connected to a power source and that all cables are securely connected. In contrast, a wireless system is much less complex—simply follow the provided instructions to complete the setup process if it hasn’t been done already.
7. Adjust Settings

Some cameras come with a variety of settings. Wireless cameras, for example, can operate in a low-battery mode triggered by motion detection, at which point they activate and begin recording. You also have the flexibility to fine-tune motion sensitivity, preventing your camera from recording every time the neighborhood cat pays a visit. Additionally, settings can be adjusted for features such as night vision, facial recognition, video quality, scheduled backups, and deleting saved videos after a certain number of days. Read your software instructions for guidance on configuring these settings via the mobile app.
Tips for Security Camera Installation
Now that you’re familiar with the process of installing security cameras, consider these tips from experienced installers for a more seamless experience.

- Avoid Direct Light: Bright light can distort camera footage. Survey the areas where you plan to install cameras throughout the day to assess lighting before mounting them.
- Account for Blind Spots: Don’t overlook less-considered areas such as the yard or driveway when planning camera placements.
- Indoor Security Cameras: Some homeowners opt for indoor home security cameras. A general guideline is to position indoor cameras in room corners in essential rooms, such as the nursery, living room, or the main floor in general. Other locations include pointing cameras at stairways or hallways.
- Be Mindful of Privacy: It’s important to note that in some states, it’s illegal to place cameras in bedrooms or bathrooms, as well as in locations where you can intrude on your neighbors’ privacy.
- Compatibility: If you already have a home security system, check which security cameras are compatible with your current setup.
Security cameras are an excellent choice for enhancing home security and preventing any break-ins. Although it is DIY, if the task seems overwhelming, consider enlisting the help of a Tasker. They’ll ensure the job is completed with precision and efficiency, providing you with safety and peace of mind.