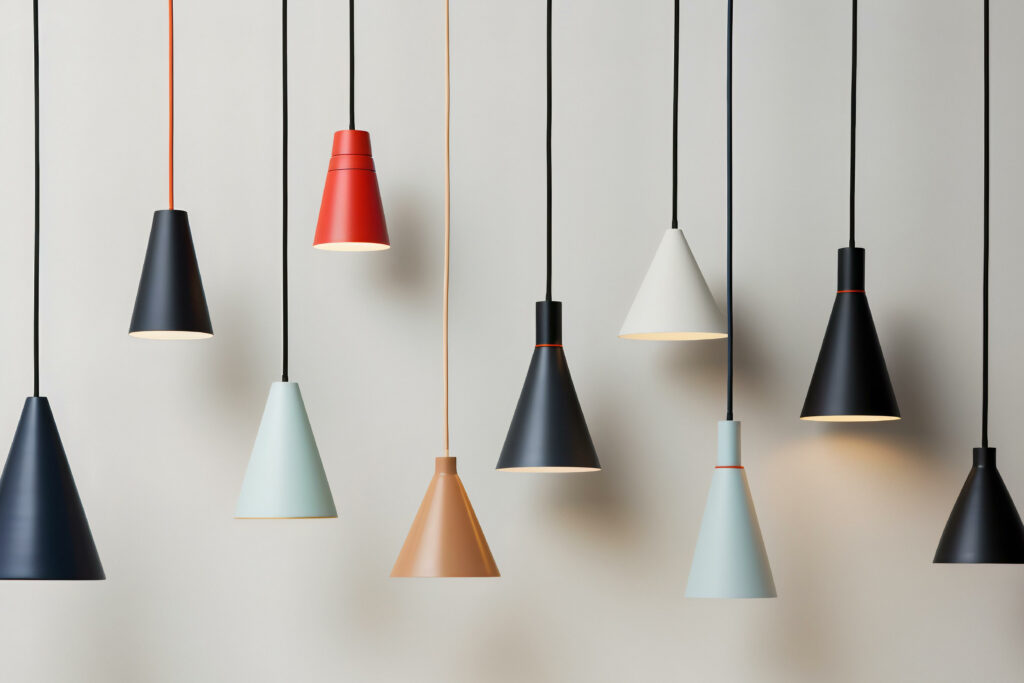
Pendant lights are a go-to choice for homeowners looking to add a touch of modern elegance to their space. Whether you’re illuminating a kitchen island, brightening up a dining room table, or casting a warm glow over a cozy reading nook, these versatile fixtures can inject instant personality or style.
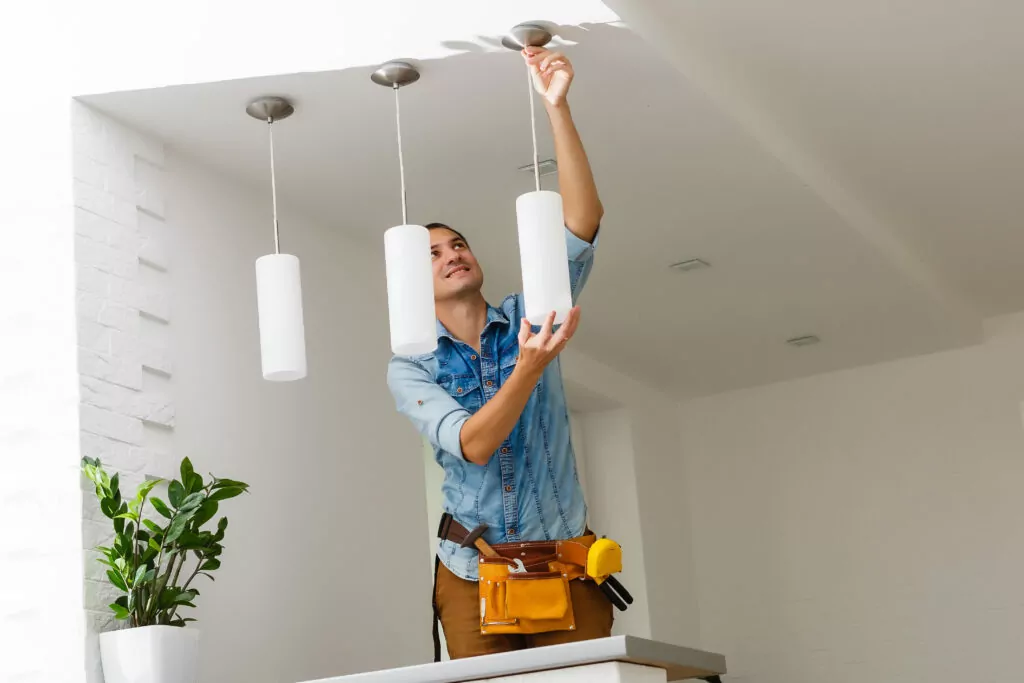
For some people, the thought of making pendant light installation a DIY project can feel terrifying, but take a deep breath! This step-by-step guide will walk you through the process, even if you’ve never touched a wire before. So grab your tools, channel your energy, and get ready to confidently transform your space with pendant lights!
Project Overview
Before we dive into the details of how to hang pendant lights, make sure you’re prepped for success. When you’re learning how to install pendant lights, it can take about 2-3 hours—the perfect DIY task for a weekend. The cost will largely depend on the type of fixture you choose (think sleek minimalism vs. something more chandelier-like). Generally, most pendant lights fall within the $50-200 range. In terms of necessary expertise, this project falls into the beginner-friendly and intermediate zone. If you’re comfortable with basic tools and following instructions, you should be able to finish the job!
Supplies Needed
When you’re hanging pendant lights, you’ll first need to gather the following materials and tools:
Materials
- Pendant light fixture (purchased or repurposed)
- Mounting hardware (typically included with your fixture)
- Wire nuts
- Electrical tape
- Level
Tools
- Voltage tester (this will ensure your power is off before you start)
- Wire strippers (for prepping the fixture wires)
- Safety glasses (if you’re drilling new holes)
- Screwdriver (compatible with mounting hardware)
- Drill and drill bits
- Pencil
- Ladder
- Stud finder (optional, but it can help with finding ceiling joists)
Remember: This is a general list, and your specific tools and materials might vary depending on your particular pendant light fixture and ceiling type. Always refer to the manufacturer’s instructions for the most accurate guidance!
How To Hang Pendant Lights
Now it’s time to dive into the actual process for how to hang pendant lights! Complete the following steps:
1. Select The Fixture Location

Once you’ve found the optimal spot for your pendant light, mark the center point of your desired location on the ceiling. If you’re hanging pendant lights over a kitchen island, make sure the light aligns with the island’s center, not the countertop. Use a stud finder to locate ceiling joists for secure mounting, and make sure you have necessary wiring to the spot already installed. As a general rule of thumb, plan to hang your pendant lights at least 28-34 inches above any surface (like a countertop or dining room table). You can adjust this depending on your preference!
2. Disconnect The Power

Safety always needs to come first! Before you even think about touching a wire, confirm that the power is off at the breaker box. Double check it by turning off the switch controlling the circuit where you’ll be installing your light. Test any outlets or wires with your voltage tester by touching the probes to the hot and neutral wires. Once you’re sure the power is off, move to Step 3.
3. Take Note Of All Wires

Your pendant fixture will eventually attach to three wires: the hot wire (usually color-coded as black or red), the ground wire (green), and the neutral wire (white, gray, or bare copper). Note down which wire coming from the ceiling is connected to the black fixture wire—this will be your indicator for which wire is hot! Also mark down the wire that’s connected to the white (or neutral) fixture wire. You’ll want to replicate these connections once you’re attaching your new fixture.
Remember: Houses built before the 1970s may not have a ground wire. If your ceiling box is made of metal and your old light has a bare wire attached to a screw in the box, this is your ground wire.
4. Remove The Old Light (If Applicable)

If you’re replacing an existing fixture, unscrew the mounting plate, and detach the wires. Check the power supply wires for fraying or other damage, and if necessary, cut the wire and stripe off about ½ – ¾ inch of insulation so you can attach them to your new fixture. Be careful not to damage the copper wire inside!
5. Install The Mounting Bracket

Follow your fixture’s manufacturer’s instructions to connect the mounting bracket to the junction box and/or ceiling joists. Use the appropriate screws or anchors, and double-check that the plate is level before securing everything tightly.
6. Connect The Wires

Use caution during this step! Following the fixture’s instructions carefully, match the hot (black or red) wire from the ceiling to the black or red wire of the fixture. Next, connect the neutral (white) wire to your fixture’s neutral/white wire. Connect the green or bare grounding wire to the green or bare grounding wire of the fixture. Twist all the wires’ touchpoints together, and secure them with wire nuts. Double check all connections for tightness, and insulate any exposed wire with electrical tape to ensure safety.
7. Secure The Fixture To The Ceiling
Following your fixture’s instructions, connect the pendant light to the ceiling by carefully feeding the wires up through the mounting bracket. Once the wires are no longer in the way, follow instructions to connect the fixture to the mounting bracket. Tighten all screws, and ensure the fixture hangs securely.
8 Add Light Bulbs And Test It

Once everything is installed, screw in however many lightbulbs your fixture requires, and turn the power back on at the breaker box. Finally, flip on the lightswitch that controls your new fixture. If everything is connected correctly, your new light should work! If the light doesn’t come on, remove the fixture and recheck all your connections. Worst case, consult a qualified electrician or licensed Tasker for help!
Hanging Pendant Light FAQs

Still have questions? Check out our answers below to common questions about hanging pendant lights.
What Is The Proper Height To Hang Pendant Lights?
The ideal height depends on the location and function of your lights, but as mentioned above, you’ll want the base of your new pendant light to hang at least 28-34 inches above any surface. Below are some common options, depending where in your house the light will hang:
- Lights over a kitchen islands. Aim for 28-34 inches above the countertop. This will leave space for food prep and will allow for clear headroom. Make sure the tallest person in your house won’t hit their head on the lights!
- Above dining tables. For mealtime ambience, hang pendant lights 30-36 inches above the table surface.
- In foyers or entryways. For a welcoming atmosphere, hang pendant lights 68-72 inches above the floor. Make sure they won’t get in the way of the opening door or the tallest person who will be walking into your house.
- Living rooms, bedrooms, and bathrooms. Pendant lights can sometimes take the place of a table lamp or ceiling lights in your living spaces (including bathrooms), but consider the scale of your fixture when hanging it in these areas. Depending on where you’re hanging them, they can hang as low as 24 inches off a surface or as high as 72 inches.
These are just general guidelines! Play around with them to find the best approach, and always trust your gut to find the best option.
Can I Hang Pendant Lights From The Wall?
While not as common, you can hang pendant lights from the wall in certain situations, particularly if you have a wire pendant light that can be plugged into an outlet without running new electrical lines. Here are some considerations:
- Structural support. Ensure that your wall can support the weight of your fixture and any potential swaying. Stud finders and heavy-duty wall anchors or brackets will also be crucial, as you’ll need a brace to hang the pendant light and pendant light cord on.
- Height and clearance. Consider the fixture’s size, and ensure it provides adequate clearance for furniture or walking paths.
- Positioning. Plan the location carefully to avoid obstructing doorways or windows. Wall-mounted pendants are often used for accent lighting, so consider the desired effect and how it interacts with existing lighting sources.
If your wall-mounted pendant light requires any electrical modifications, be sure to consult a licensed electrician or Tasker.
What’s the best height for pendant lights above an island?
As mentioned earlier, the ideal height for lights above an island is 28-34 inches above the countertop. This provides optimal task lighting for cooking and food prep while ensuring there’s enough headroom for movement. Even so, you’ll want to consider:
- Island size. For larger islands, consider hanging pendants slightly higher than average to avoid creating an overwhelming.
- Ceiling height. If you have higher ceilings (above 9 feet), consider hanging your pendant lights slightly higher than average.
- Fixture size. Large pendant lights above an island might need to hang slightly higher to maintain proper headroom while smaller fixtures can be positioned closer to the countertop.
- Personal preference. Ultimately, the height should be visually appealing and functional for your needs. Don’t hesitate to adjust within the recommended range to find the sweet spot that complements your living space and its aesthetics.
Find Help From A Tasker
Not sure that hanging pendant lights is your jam? No problem—Taskrabbit can connect you with skilled and experienced Taskers who can easily handle your pendant light installation. Whether you need help navigating the complexities of electrical connections, choosing the right fixtures, or figuring out where to hang it, Taskers are always here to help. They can also help with string light installation and under-cabinet lighting, depending on what you need. Book a Tasker today!