A bustling kitchen deserves the freshest air possible. To achieve this, you need a stainless steel range hood that can whisk away steam, smoke, and cooking odors before they can linger. Installing a range hood during a kitchen remodel isn’t just about aesthetics; it’s an investment in fresher air, cleaner surfaces around your kitchen, and a more comfortable cooking experience. Before you dive into DIY mode and learn how to install a range hood, however, it’s important to consider the project’s scope:
- Time: Allot 4-6 hours for a smooth installation, depending on your comfort level and whether you have to cut vent holes in your wall or ceiling.
- Cost: The range hood itself can cost anywhere between $200-500 (excluding more expensive options), and tools and materials can add another $50-150 to the budget. If you need to hire a carpenter or electrician to install your range hood, be sure to factor in that hourly amount as well. According to Forbes, the average cost will come out to somewhere around $750.
- Difficulty: This project leans toward moderately difficult, especially for first timers. It requires precise measurements, electrical work, and ductwork installation.
Now that you have an idea of what to expect, let’s dive into the details of range hood installation!
Before Getting Started
Before diving into the nitty-gritty details of range hood installation, it’s smart to do some pre-planning. Here are some crucial considerations that will help you know if installing a range hood is a task you want to complete yourself.
- Regulations. Check your local building codes for any specific requirements regarding venting and electrical work. Getting permits for this work may be essential in your area, so don’t skip this step!
- Range hood height. The optimal range hood height will depend on your cooktop type and personal preferences. Aim for 26-30 inches above an electric cooktop and 30-36 inches above a gas cooktop. Taller individuals might also prefer a higher placement so they don’t have to worry about hitting their head or having their views of the cooktop blocked.
- Types of range hoods. With range hood installation, you have the choice between ducted and ductless models. Ducted hoods will vent your fumes, moisture, and grease particles directly outside. Ductless models, on the other hand, will vent filtered air back into your kitchen. When choosing between either type, consider your kitchen layout, ventilation options, and budget.
- CFM power. Cubic feet per minute (CFM) measures a range hood’s suction power. You’ll want to aim for a CFM rating three times the square footage of your stovetop area for optimal performance. For example, a 300 CFM hood should suit a 100-square-foot stovetop area.
Now that you know what to consider when learning how to install a range hood, let’s dive into what tools and materials you’ll need.
Tools and Materials
Having the right tools at hand makes the range hood installation process much smoother. Here’s what you’ll need:
- Safety gear. Consider wearing safety goggles, gloves, and a dust mask.
- Measuring tools. You’ll need a tape measure and a level.
- Cutting tools. Make sure you have a utility knife, jigsaw, and hole saw (for ducted hoods).
- Drilling tools. These should include a drill and screwdriver bits, including long drill bits.
- Mounting tools. You’ll need a stud finder, hammer, and wrench.
- Electrical tools. Have a wire stripper, wire connectors, and voltage tester on hand.
- Additional materials. Make sure you have caulk and a caulking gun, duct tape, aluminum tape (for ducted hoods), and mounting screws that are compatible with your hood).
- An extra person! You’ll need at least one other person to help you lift and lower the range hoods.
With your tools and materials in hand, it’s time to start the installation process!
Range Hood Installation Steps
When consulting this step-by-step guide for range hood installation, it’s important to follow these instructions carefully, and always stop if you don’t feel comfortable moving forward. Also consult the manufacturer’s instructions for your range hood before moving forward.
Step 1. Turn Off All Power
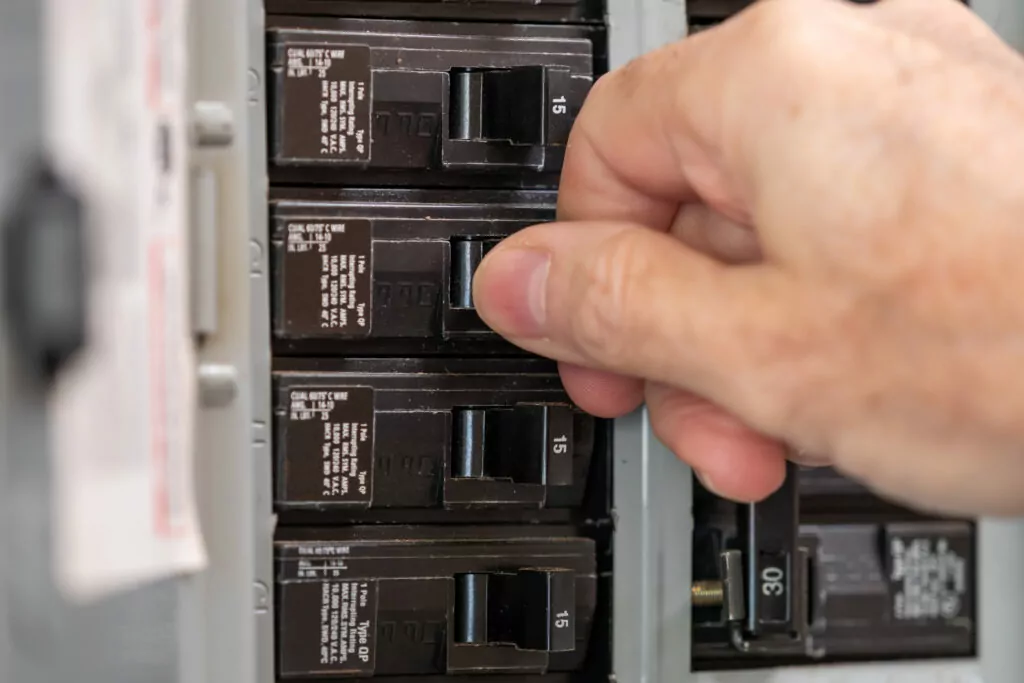
As always, safety comes first when you’re doing any electrical task around the home. First, turn off the power for your cooktop and hood at the breaker box to avoid any electrical hazards. Before proceeding, double check that everything is off by using a voltage tester.
Step 2. Remove the Old Hood (If Applicable)

If you’re replacing an existing hood, disconnect its wiring and vent connections. With an extra set of hands, carefully unscrew the mounting brackets, and lower the old range hood without hitting your stovetop. Remember to dispose of it responsibly or recycle it, if possible.
Step 3. Plan Routes and Install Ducts (For Duct Hoods Only)

Depending on if you’re installing a duct vs. ductless range hood, you’re now going to need to plan where you’ll vent your kitchen air to.
For ducted models, you’ll need to know if your air duct will go out your kitchen wall or up through the ceiling or roof. If you don’t have ductwork installed in either place, be very careful about proceeding without professional carpentry help. Cutting holes in the wall can be dangerous and costly if you have electrical wires or water pipes in the spot where you make the cut (even making drill holes can be risky if you don’t know what’s inside your wall!).
Map out the path for your ductwork, ensuring that it follows the shortest and most efficient route to your house’s exterior. If it fits with your kitchen’s layout, consider using prefabricated ductwork for easier installation. If you decide to do any necessary carpentry work yourself, ensure proper clearance before you cut the hole in the drywall using a hole saw. Once your ductwork is in place, attach a vent cap over the exterior wall portion, and seal any edges with weatherproof caulking.
Step 4. Run the Wiring

Locate an existing junction box near the planned hood location, or install a new one if necessary. Then run an electrical cable from the box to the hood’s designated connection point. If you’re not qualified to handle electrical work, consult a licensed electrician (or a licensed Tasker) to do this step!
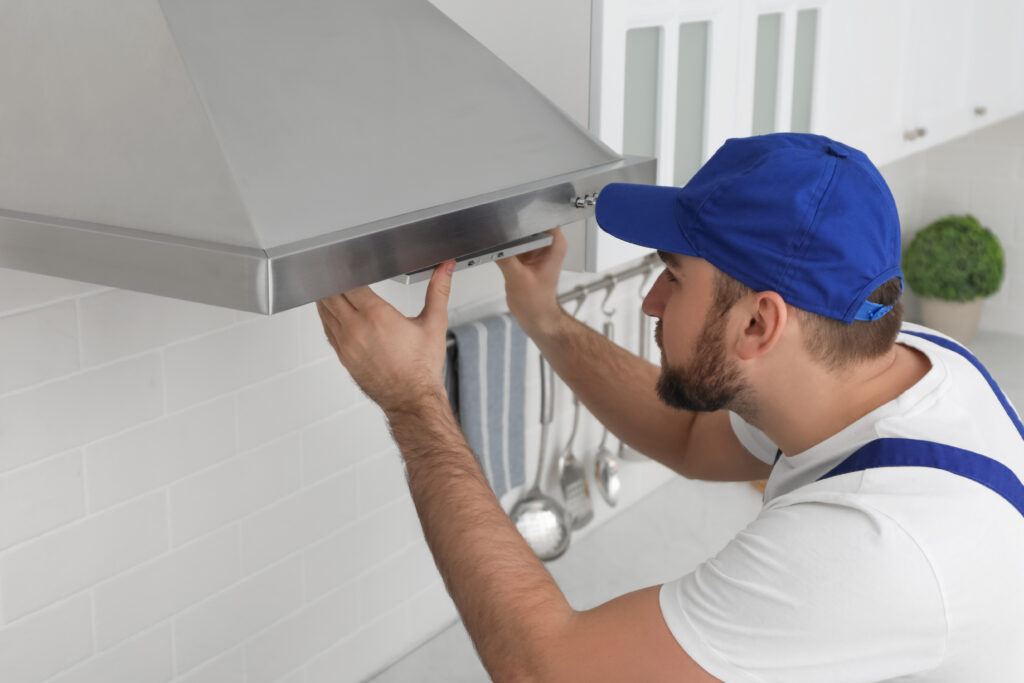
Step 5. Mount Aand Install the Range Hood

Using a stud finder, locate the studs in your wall where you’ll be mounting your new range hood. Mark the screw holes according to the hood’s provided template, and drill pilot holes. Secure the mounting brackets firmly to the studs using the screws that came with your hood. With another person, carefully lift the hood, and align it with the brackets. Finally, secure it with mounting screws.
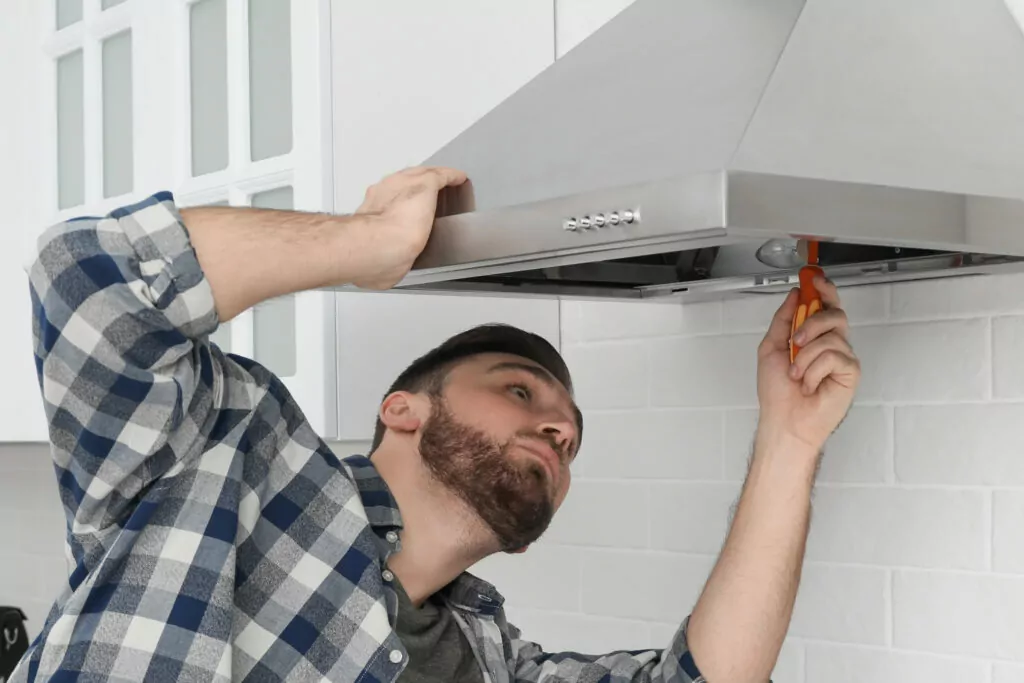
Step 6. Connect and Finish the Wiring

Carefully connect the hood’s wires to the corresponding wires in the electrical box you’re linking to, ensuring proper color matching and secure connections (including the ground wire). Use wire connectors and electrical tape for a safe, insulated finish. Double check all your connections before turning the power back on to test the lights and ventilation.
Step 7. Seal and Finish (Optional)

Apply caulk around the edges of your range hood where it meets the wall to prevent air leaks and create a seamless finish. Install any decorative trim pieces or a damper (if it’s included) to regulate any backdraft from outside and give your hood a polished look.
Range Hood Maintenance
Now that your new range hood is in place, maintaining its performance is key! Here are some handy tips to keep your hood working properly:
Clean the filters regularly

Consult your manual for specific range hood cleaning instructions and how often to do it. Generally, it’s best to clean your grease filters every 2-4 weeks, depending on how often you cook. Soak them in hot, soapy water, or use a degreaser spray. Then rinse them and dry them thoroughly before reinstalling.
Wipe down the surfaces

Use a damp microfiber cloth or non-scratch sponge to clean grease buildup off the hood’s exterior regularly. Avoid harsh chemicals or abrasive scrubbers, as they can damage the hood’s finish.
Replace charcoal filters (on ductless hoods only)

Charcoal filters absorb odors and need to be replaced every 3-6 months, depending on usage. Follow the manufacturer’s instructions for replacing them.
Check the damper (ducted hoods only)

Ensure that the damper opens and closes freely to allow proper ventilation and prevent backdraft in your exhaust fan. Lubricate the hinge mechanism to prevent rusting.
Keep an eye on performance

If your hood’s suction power seems weaker than usual, clogged filters or ductwork could be the culprit. Clean or replace the filters, and check for any blockages in the ductwork.
By following these simple maintenance tips, you can ensure your range hood operates efficiently and keeps your kitchen air fresh for years to come!
How To Install a Range Hood FAQs
Below are answers to common questions that you might have about kitchen range hood installation:
How much does it cost to install a range hood?
The cost of installation can vary depending on the type of hood you purchase, the complexity of the job, your location, and whether you hire a professional. Expect to pay anywhere between $150-$500 for labor, with additional costs for materials and permits if necessary. Again, Forbes estimates that the average cost for installation, including the hood, will come out around $750.
Is a ducted range hood better than a ductless one?
Ducted range hoods are generally considered more effective in removing smoke, grease, and moisture from the kitchen, because the hood fan can vent directly outside. Even so, ductless hoods that recirculate air with a blower offer a simpler installation process and are suitable for kitchens with limited range hood ventilation options. Ultimately, the best choice depends on your needs and budget.
Can I install a range hood by myself?
Range hoods should always be installed with at least one extra set of hands, as you’ll need somebody to lift the hood into place and somebody to mount it securely. If you’re comfortable with DIY projects and have the necessary tools and expertise (particularly with electrical connections and cutting through walls), you can definitely try tackling the project with your own resources.
If you’re unsure about electrical work or how to safely cut through walls, however, consider hiring help for peace of mind and a guaranteed quality installation.
Need Help Installing a Range Hood?
Similar to kitchen cabinet installation, installing a range hood can be a rewarding DIY home improvement project—but it isn’t for everyone. If you’re short on time, lack DIY confidence, or simply want a hassle-free experience, consider hiring a Tasker to do all the difficult work!