Today’s walls are a far cry from those of ancient Rome. Back then, artisans would carve reliefs into plaster, creating intricate designs that depicted scenes from mythology or daily life. In comparison, today’s modern smooth, white walls can seem rather bland. If you’re looking to spice up your interior design, adding texture to walls is a great option. Outside of improving aesthetics, textured walls also hide imperfections, absorb sound, and increase durability against wear and tear. When it comes to texturing your walls, you have several options to choose from, including applying textured wallpaper, textured paint, joint compound, or a faux finish. Read on to discover more about each option.
Types of Wall Texture

There are several different kinds of textured walls, each requiring a different method of application. Below is a breakdown of several popular types.
- Popcorn texture: Popcorn walls provide a dramatic texture useful for hiding imperfections and absorbing sound. This method is best applied with a texture machine or hopper sprayer.
- Orange peel texture: Orange peel is the most relaxed look and is very durable against cracks and dents. It’s simple to paint and is the closest to a flat wall. Similar to the popcorn texture, it requires a texture sprayer for a consistent finish.
- Knockdown texture: Knockdown wall texture is almost identical to the orange peel method. Before the drywall has dried however, peaks are smoothed out with a trowel or putty knife for a stucco-like finish. Knockdown is simple to paint over and is often applied to the ceiling.
- Sand swirl texture: The sand swirl technique creates overlapping circles for a subtle texture. It’s typically applied with a paintbrush and adds movement to the wall.
- Slap brush texture: The slap brush texture is applied in small sections and uses drywall compound and a texture brush. The method creates a random pattern and requires 24 hours to dry before painting.
How to Texture a Wall With a Joint Compound
Texturing a wall with joint compound is an ideal project for DIY beginners. Its long drying time allows ample opportunity to correct mistakes. Follow the below steps to texture a wall with joint compound.
1. Prime and Clean the Walls

Walls should be prepped with drywall primer before applying joint compound. After priming, clean the walls and let them dry completely. Cover the floor, furniture, fixtures, and more with drop cloths to protect from any spilled compound.
2. Mix the Joint Compound

For dry mix compound, follow the manufacturer’s directions when mixing water for proper preparation. The consistency should resemble thick pancake batter. It’s best to buy compound in bulk–either 12 pounds of ready-to-use compound or 18 pounds of dry compound–and have a large bucket on hand if mixing.
3. Apply the Texture to the Wall

With a 10-inch drywall knife, apply the compound to the wall, starting at the corner, baseboard, or top of the wall. Work your way inward in small sections, about 3’ x 3’. Use a 4-inch drywall knife to apply compound to tight spaces.
4. Add Texture

Texture your 3’ x 3’ section using a stencil, a comb or brush to create striations, or a sponge for swirls. Once you finish texturing your 3’ x 3’ section, apply compound to the adjacent surface in the same dimensions. Then add texture, and repeat on the rest of the wall. Do touch ups as necessary. To remove any ridges from areas with too much joint compound, use sandpaper and a light touch.
5. Let Dry and Paint

After waiting 24 hours for the joint compound to dry completely, apply primer followed by paint in your chosen color. For textured surfaces, it’s best to use a thick-nap roller cover brush for painting.
How to Texture a Wall With a Texture Sprayer or Machine
To apply popcorn ceilings or orange peel texture, you’ll need a drywall texture sprayer. They’re designed for even application across large surfaces. While it’s the simplest method for adding ceiling texture, it’s difficult to remove and also has a messy application process.
1. Rent a Texture Sprayer

For the popular orange peel texture, rent a hopper-style spray gun. Texture sprayers are self contained, however a hopper gun does require an air compressor.
2. Clean the Walls

Clean the walls, letting them dry completely. Cover furniture, floors, and walls you don’t want textured with drop sheets as texture sprayers are often imprecise.
3. Mix the Joint Compound

Combine the joint compound following the manufacturing instructions, then add the compound to the texture sprayer’s hopper.
4. Apply the Texture with the Sprayer

Adjust the nozzle and air flow for your desired consistency. Use slow, even motions to spray the compound. Complete one wall at a time so you can maintain a uniform texture. Don’t worry if you mess up as the compound can be easily sponged off. Let the joint compound dry for 24 hours before painting.
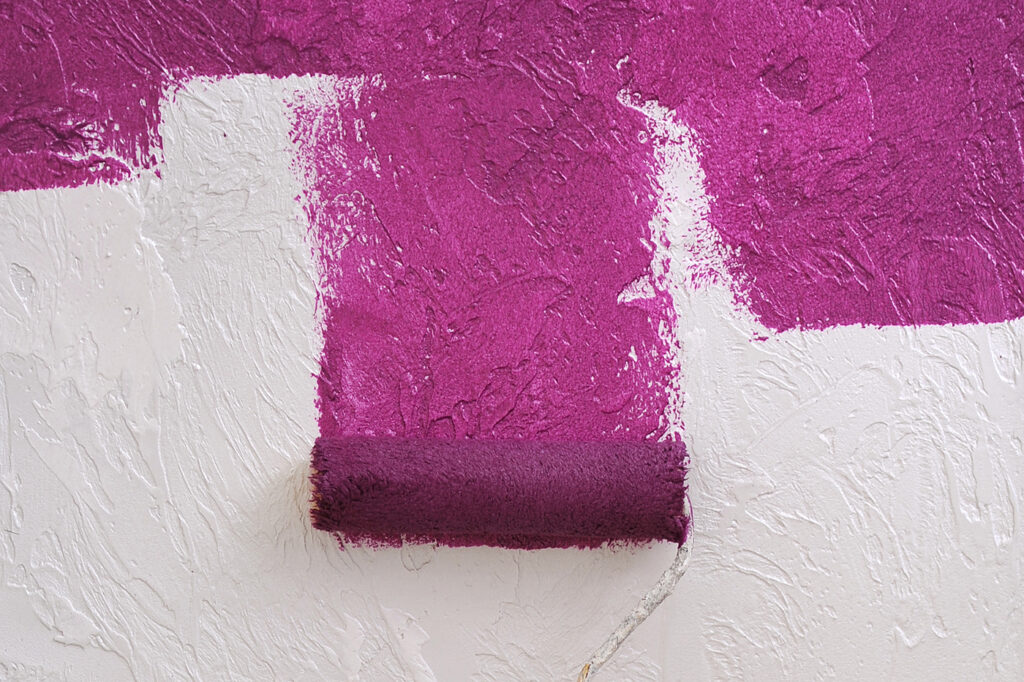
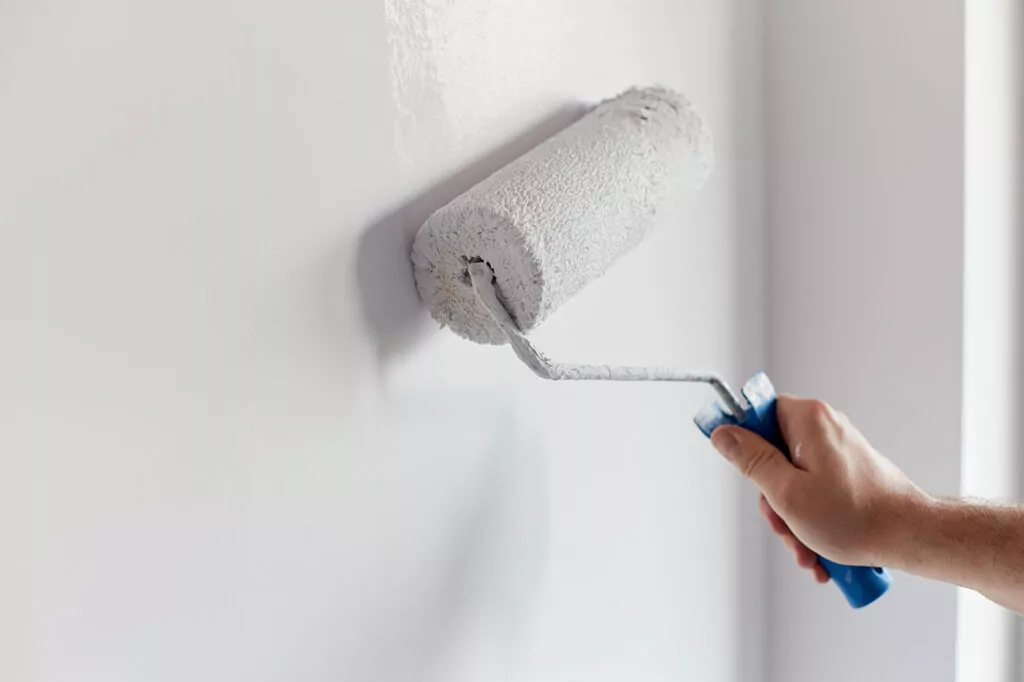
How to Texture a Wall With a Roller
Texturing walls with a roller is not only simple but also cost-effective. Follow the steps below to get started.
1. Clean the Walls

Patch holes with drywall compound and drywall knife, or lightweight spackle. Leave the patch unsanded. Then clean the walls and let them dry completely.
2. Prime the Surface

Prime the area with primer. Let it cure for two hours.
3. Mix the Drywall Compound
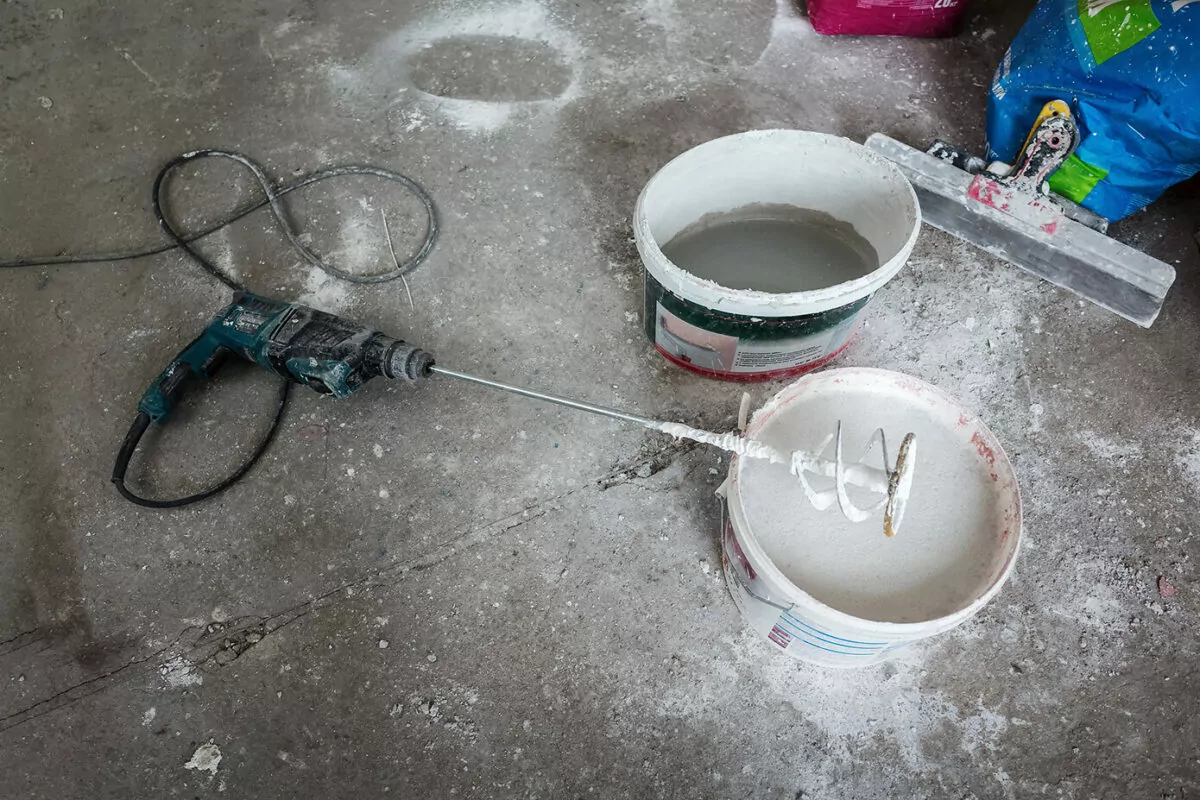
Mix the compound with water in a five gallon bucket at a 4:1 ratio. Stir with a paint mixer drill attachment so the consistency is similar to smooth cake batter.
4. Paint the Wall or Ceiling

Pour the texture paint into a paint tray. Dip a paint roller into the tray and roll it out on the tray. Then, roll the texture product on your wall or ceiling. To get tight areas, including corners, edges, and around trim, use a paintbrush. Simply dip the brush in the textured paint and dab the surface. Wait for the paint to dry.
5. Apply a Second Coat

To test how dry the paint is, press your thumb onto the wall or ceiling, but don’t press too hard. For a bumpier look, roll a second time with a dry roller. This will pull up partially dried material creating a more rustic look.
6. Prime and Paint
After the surface has dried for two hours or more, prime and paint the texture product. Check the manufacturer’s instructions for drying time, as some products require up to 24 hours to dry completely.
How to Texture a Wall With a Sponge
A great way to add texture to walls without adding joint compound is with a sponge. The best part is it requires few materials, less time than other methods, and no previous experience. Follow the below simple steps to add texture to a wall with a sponge.
1. Clean the Walls

Clean the walls and let them dry completely.
2. Paint the Wall

If you plan to change the underlying color of the wall, paint it as you normally would then let it dry.
3. Apply a Second Coat With a Sponge

Soak a sponge in paint, then dab it repeatedly on the wall. You can use regular paint, textured paint, a different color, or the same color. For corners, cut the sponge into narrow strips.
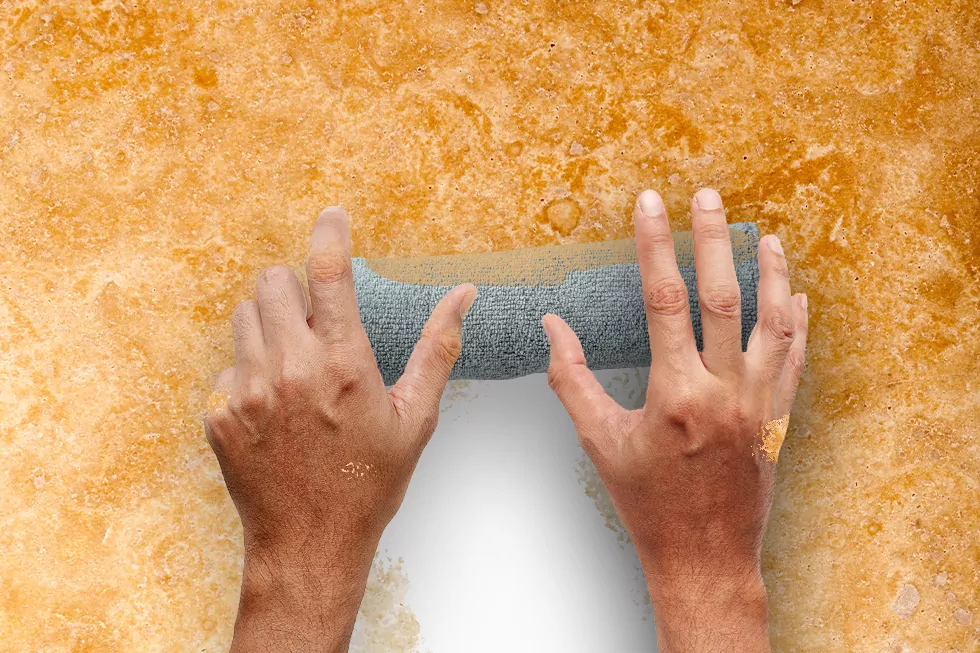
Faux Technique
Another beautiful technique for adding texture to walls is by twisting up a rag to roll paint on or off, creating a custom look. Often, rag rolling provides a thick and rhythmic appearance. Follow the below steps to get started.
1. Paint the Base of the Wall
In a well-ventilated area, paint the first layer with a paintbrush or roller in an eggshell finish in a color of your choice. Wait 24 hours, then paint the second coat. Again, wait 24 hours to dry.
2. Roll Paint On
When rag rolling, decide if you want to roll the base coat on or off. Choose a small portion of the wall to use as a test area. You can always paint over what you’ve done.
With a slightly darker or lighter shade of the same color of paint you used for your base coat, dip your rag in a paint tray to cover it with paint. It can also help to dilute the paint with water in a 2:1 ratio (paint to water). Be careful to not oversaturate the cloth. Bunch the rag into a ball and roll the rag down the wall top to bottom, applying consistent pressure. Feel free to use slightly angled strokes as you move along. For a deeper look, go over the areas multiple times.
Once the rag becomes saturated, use a new one. Cover the wall completely.
3. Alternatively, Roll Paint Off

If you want to roll paint off instead of on, start immediately after the second base coat is applied. Take a clean, twisted rag and roll it down the wall. Painting the second base coat in small sections prevents the coat from drying before you can roll paint off. If the rag becomes saturated, use another.
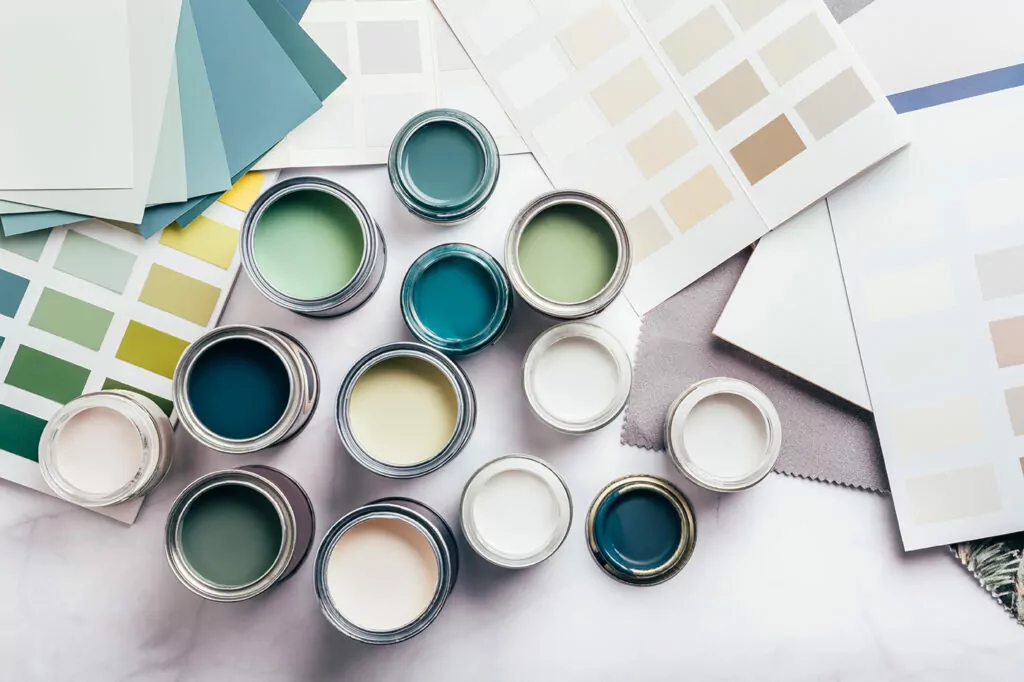
Textured Paint for Walls
Another way to add texture to walls is by adding texture to paint. This option provides more variety than basic eggshell, satin, or flat sheens, including textures made of stone, sand, faux finishes, or original creations. It’s also great for hiding blemishes.
While you can purchase pre-mixed textured paint, you have more control over the texture (and more color options) by using a texture additive with any latex or oil paints. For a thicker texture, opt for powdered compounds. Check the manufacturer’s instructions to determine if the textured paint requires a single coat or more.
1. Cover Furniture

Begin by covering furniture, walls, and the floor with drop cloths and painter’s tape to prevent any spills from causing damage.
2. Combine Paint and Texture

Pour paint into a mixing container, about half full. Then add the texture to the paint about a half cup at a time, constantly stirring with a mixing stick. Keep adding until you reach your desired consistency.
3. Prime and Paint the Walls

Using the technique you’d normally use to paint a wall, prime the wall. Then, paint the wall with the textured paint mixture. If the texture isn’t coarse enough, simply add more texture to your paint and start over. Remember: You can always add more; taking out is the difficult part!
Tips to Texture Your Walls
Although there are a variety of methods to add texture to walls, below are some more tips to consider before getting started.
- Painting after adding texture exaggerates the texture effects.
- Always strip existing texture before applying new texture.
- Practice both thin and heavy coats on a scrap of drywall or sheet of cardboard before applying texture to your walls or ceilings.
- Use a variety of sponges for different textures. Sea sponges create irregular patterns and synthetic sponges create more uniform patterns.
- When rag rolling, try a variety of materials such as cheesecloth, lace, linen, or burlap.
- Some products are meant for ceilings, while others are meant for walls. Carefully read the product label to know which one you’re buying.
- Spray texture in a can is great for spot repairing small areas of textured walls or ceilings.
- An additional technique, not yet discussed, involves placing a plastic sheet against a wall before the paint dries. You can then remove the sheet to create a marbled pattern. By smoothing, rubbing, or wrinkling the plastic with your hand before removing it from the wall, you can create different patterns.
- To give walls the look of wood, simply use a wood graining tool after a base coat of glaze is applied.
Frequently Asked Questions
What is the easiest way to texture a wall?
There are several simple ways to texture a wall. One option is to roll texture on using a pre-mixed texture compound. Another method is to add texture to paint. Alternatively, faux techniques, such as rolling paint on or off with rags or applying a pattern with a sponge, can also create a textured wall appearance.
Can you texture directly on drywall?
It’s advisable to first add drywall primer before applying texture to walls if you’re using joint compound. Additionally, repair any cracks or holes and allow the area to dry completely. It’s also important to apply texture to a clean wall. Apart from that, you can apply texture directly to drywall.
Should I texture my walls before painting?
Yes, texturing needs to be completed prior to painting your wall. Not only is texture easier to apply but it will create a more uniform look.
Can I texture over old texture?
It’s not recommended to texture over old texture. When updating the texture on your walls, it’s best to remove any existing texture before beginning.
Adding texture to walls is a rewarding DIY home improvement project that can transform any room. However, mastering painting techniques can be time-consuming. When you need a hand with the job, Taskrabbit offers affordable painting services. Taskers are skilled at adding texture to walls and can even assist with decorating your new and improved walls. Find the help you need today!