Painting a room can transform your living space, giving it a fresh, vibrant look. However, the order in which you paint—and the question of whether to paint the ceiling or walls first—plays a crucial role in achieving a smooth and professional finish. Many DIY enthusiasts and professional painters alike grapple with the questions: “What do you paint first in a room? Do you paint the ceiling or walls first?” This guide will delve into the correct order of painting a room, ensuring an efficient workflow and a flawless result.
The Painting Order Debate: Ceilings vs. Walls

“Should I paint ceilings or walls first?” It’s a question you might be asking as you debate how to redecorate your favorite room. And it’s true—a common dilemma in any painting project is deciding what to paint first in a room: the ceiling or the walls. Understanding the impact of this decision is vital. When you start with the ceiling, you can avoid splatters and drips from marring your freshly painted walls. Conversely, starting with the walls might seem simpler but often leads to more touch-ups and a less seamless finish. So, what do you paint first in a room? The answer generally leans towards starting with the ceiling for a cleaner and more efficient process.
Why Start with the Ceiling: Advantages Unveiled

Painting a room in order often begins with the ceiling for several practical reasons. Firstly, it allows you to work from the top down, which means any splatters from the ceiling won’t ruin your freshly painted walls. This approach also prevents you from having to worry about cutting in the edges of the ceiling after painting the walls, which can be a meticulous and time-consuming task. Additionally, painting the ceiling first provides a clean slate, making it easier to correct any mistakes or drips that might occur.
Detailed Guide: Painting Ceilings First

To achieve the best results in your painting project, follow this step-by-step guide that starts with the ceiling and moves down to the walls and trim. This method of painting a room in order ensures a professional and polished finish.
1. Room Preparation

Start by clearing the entire room of all furniture and covering the floor with drop cloths. Remove or cover any light fixtures and hardware. Ensure all surfaces are clean and free of dust and cobwebs. This step is crucial for protecting your belongings and creating a dust-free environment for painting. Proper preparation also includes removing outlet covers and switch plates to avoid getting paint on them.
2. Ceiling Preparation

Inspect the ceiling for any cracks or imperfections. Use a putty knife to fill holes and cracks with caulk or spackle. Once the filler is dry, sand it smooth with sandpaper for a seamless finish. Make sure to use painter’s tape along the edges of the ceiling to protect the walls from ceiling paint. This step ensures a smooth and even surface for the paint to adhere to, resulting in a professional-looking finish.
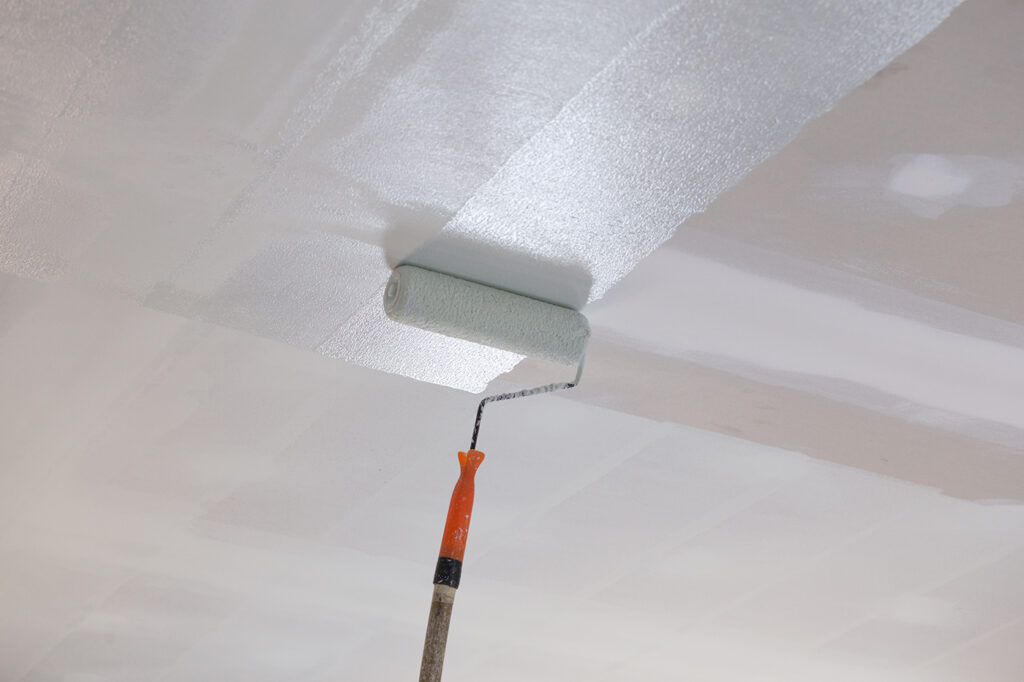
3. Painting the Ceiling

Since you now have the answer to the question of “Do you paint the ceiling or walls first?” it’s time to start. Choose a high-quality ceiling paint in a matte finish to reduce glare. Using an extension pole attached to a paint roller, apply the first coat of paint starting at the edges of the ceiling and working your way towards the center. Use a paintbrush for cutting in along the edges and around light fixtures. Allow the first coat to dry completely before applying a second coat to ensure full coverage. This method helps to prevent roller marks and ensures an even application of paint. When painting ceilings, it’s important to maintain a consistent rolling technique and avoid overloading the roller with paint, which can cause drips and splatters.
4. Wall Preparation

Once the ceiling is dry, remove the painter’s tape from the edges and reapply it to protect the edge of the ceiling. Clean the walls thoroughly and repair any imperfections with caulk or spackle. Sand and wipe down the walls with a damp cloth to remove any dust. This step is essential for ensuring that the paint adheres properly to the walls and results in a smooth, even finish. Taking the time to properly prepare the walls can significantly improve the overall appearance of the paint job.
5. Painting the Walls

Select a high-quality wall paint in your desired paint color. Using a paint tray and a nap roller, start by cutting in along the edges of the walls with a paintbrush. Roll on the paint in a ‘W’ pattern for even coverage, ensuring a wet edge to avoid lap marks. Apply a second coat if necessary for a uniform finish. This technique helps to ensure that the paint is evenly distributed and that there are no visible roller marks or streaks. When painting walls, it’s important to work quickly and efficiently to maintain a wet edge and avoid visible lines where the paint has dried.
6. Trim and Baseboards

What about the question of whether you paint trim or walls first? After the walls are completely dry, tape off the edges where the walls meet the trim and baseboards. Use a smaller brush and trim paint to carefully paint these areas, usually starting with the trim first. This step requires precision and attention to detail to achieve a clean, professional finish. Using high-quality painter’s tape can help to achieve crisp, clean lines and prevent paint from bleeding onto the walls. It’s also important to use a steady hand and take your time when painting trim and baseboards to ensure a flawless result. It’s not usually a question of whether you paint trim or walls first, because when it comes to the order of painting a room, most cases suggest that you start with the trim.
7. Cleanup

Once all the painting is complete, remove the painter’s tape carefully to avoid peeling off any paint. Clean your brushes, rollers, and paint trays thoroughly. Replace light fixtures and hardware, and remove drop cloths. Your room is now ready to be enjoyed with its fresh new look! Proper cleanup is essential for maintaining your painting tools and ensuring that they are ready for future use. It’s also important to dispose of any leftover paint or materials properly to protect the environment and keep your workspace clean and organized.
Mastering the Perfect Paint Job: Expert Tips

To elevate the quality of your paint job, here are some essential painting tips:
- Quality tools: Invest in high-quality paintbrushes, rollers, and painter’s tape to ensure a smooth finish. High-quality tools can make a significant difference in the overall appearance of your paint job and help you achieve a professional-looking result.
- Primer use: Always use a primer, especially on new drywall or when covering dark colors. Primer helps to ensure that the paint adheres properly to the surface and provides a smooth, even base for the topcoat.
- Edge taping: Use painter’s tape to get a straight line and protect surfaces from accidental paint splatters. Properly applied painter’s tape can help to achieve crisp, clean lines and prevent paint from bleeding onto adjacent surfaces.
- Wet edge: Keep a wet edge while painting to avoid visible lines and streaks. Maintaining a wet edge helps to ensure that the paint is evenly distributed and prevents visible lines where the paint has dried.
- Multiple coats: Apply at least two coats of paint for even coverage and a vibrant finish. Multiple coats help to ensure that the paint is evenly distributed and provides a rich, vibrant color.
- Extension pole: Use an extension pole for your roller to reach higher areas without strain. An extension pole can make it easier to reach high ceilings and walls and help to ensure that the paint is applied evenly.
- Drop cloths: Cover floors and furniture with drop cloths to protect from drips and splatters. Drop cloths help to protect your belongings and keep your workspace clean and organized.
- Caulk and putty: Fill gaps and cracks with caulk and putty for a smooth surface before painting. Properly filling gaps and cracks helps to ensure that the paint adheres properly and provides a smooth, even finish.
- Smooth finish: Sand between coats if necessary to achieve a smooth finish. Sanding between coats helps to ensure that the paint is evenly distributed and provides a professional-looking result.
- Cleanup: Clean your tools immediately after use to prolong their life and maintain performance. Proper cleanup helps to maintain your painting tools and ensures that they are ready for future use.
If you were asking “What do you paint first in a room?” or ““Should I paint ceilings or walls first?” you now know! Choosing whether to paint the ceiling or walls first can significantly impact the quality and efficiency of your painting project. Starting with the ceiling helps prevent splatters on freshly painted walls and streamlines the process. By following our detailed guide and expert tips, you can achieve a professional-quality finish in your home improvement endeavors.
For those who prefer to leave it to the professionals, Taskrabbit’s painting services are here to help. Skilled Taskers can ensure a flawless paint job, saving you time and effort. Whether you’re repainting a single room or your entire home, Taskrabbit connects you with experienced painters ready to transform your space. Hire a Tasker today for your next interior painting project!