Creating a Stylized Gallery Wall to Cozy Up Your Space
If you’ve ever walked into a room and felt instantly drawn to a beautifully arranged collection of art, photos, and mementos, you’ve experienced the magic of a well-crafted gallery wall. Read on to discover how to create your own, from conception to completion. Whether you’re a seasoned interior decorator or a DIY novice, get ready to unleash your creativity and turn your bare walls into a personalized masterpiece that will warm your heart and impress your guests.
Wall-to-Wall Wonders: Why Gallery Walls Rock

A gallery wall is more than just a collection of frames and artwork; it’s a curated display that tells your story and brings life to your living space. Here’s why you should consider creating one:
- Personalization: Showcase your favorite memories, artwork, and meaningful objects in one cohesive display.
- Visual Interest: Transform a plain wall into a captivating focal point that draws the eye and sparks conversation.
- Versatility: Adapt to any style, from modern minimalist to eclectic bohemian, making it perfect for any home.
- Cost-Effective: Create a big impact without breaking the bank by using a mix of high-end and budget-friendly pieces.
Blueprint for Brilliance: Planning Your Perfect Gallery Wall

The Right Spot: Choosing Your Canvas
The first step in creating your gallery wall is selecting the perfect canvas—your wall! Consider these factors when choosing:
- Size: Look for a large, empty wall that can accommodate your vision.
- Visibility: Choose a prominent area where your gallery will be easily seen and appreciated.
- Lighting: Make sure the wall receives adequate natural or artificial light to showcase your pieces.
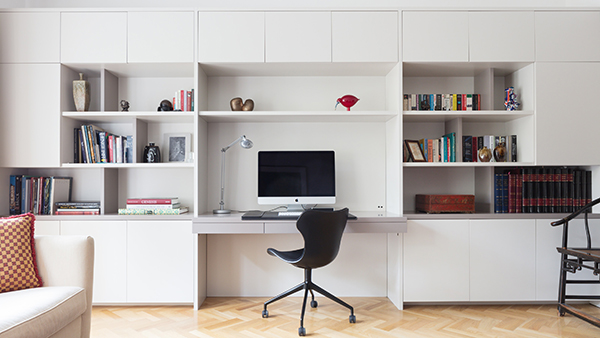
Pro tip: Entryways, living rooms, and staircases are popular choices for gallery walls, but don’t be afraid to think outside the box—a bedroom or home office can benefit from a gallery wall too!

Theme Dreams: Curating Your Wall’s Story
Before you start collecting pieces, it’s essential to have a clear vision of your gallery wall’s overall look. Consider these popular themes and styles:
- Family Photos: Create a timeline of cherished memories and milestones.
- Travel Adventures: Showcase your wanderlust with a collection of destination photos and souvenirs.
- Art Prints: Display a curated selection of your favorite artists or art styles.
- Eclectic Mix: Combine various elements like photos, artwork, and decorative objects for a unique, personalized look.
Remember, your theme should reflect your personality and complement your existing decor. Don’t be afraid to mix and match styles to create a truly one-of-a-kind display!
Piece by Piece: Gathering Your Gallery Gems

Now that you have a vision, it’s time to collect the elements that will bring your gallery wall to life. Here are some tips for curating your collection:
- Mix sizes and shapes: Combine large statement pieces with smaller accents to create visual interest.
- Vary textures and materials: Incorporate different frame materials, canvas prints, and 3D objects to add depth.
- Color coordination: Choose a cohesive color palette that complements your room’s decor.
- Personal touches: Include meaningful items like postcards, ticket stubs, or small mementos to tell your story.
Pro tip: Start with a few key pieces you love, then build your collection around them. This approach helps your gallery wall feel authentic and personal.
The Art of Arrangement: Designing Your Display

Layout and Design
Before you start hanging, it’s crucial to plan your layout. Here are some popular arrangements to consider:
- Grid: A clean, symmetrical layout perfect for uniform frames and a modern aesthetic.
- Symmetrical: Balanced arrangement with a central focal point, ideal for traditional spaces.
- Asymmetrical: Free-form layout that allows for creativity and easy additions over time.
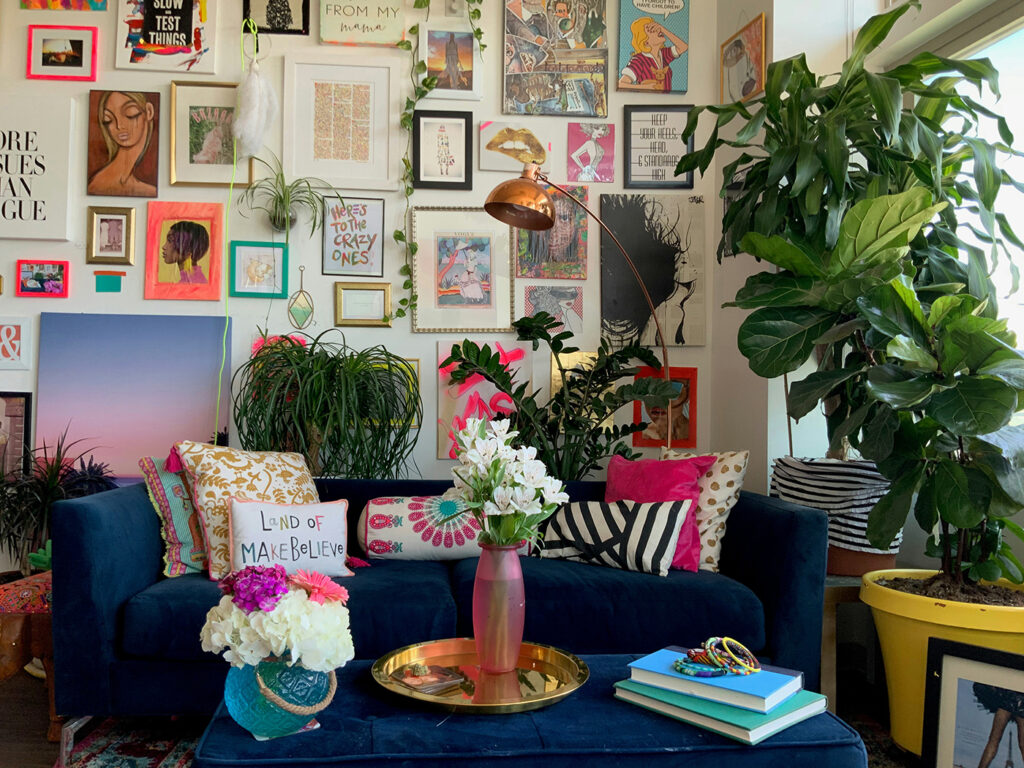
- Salon-style: Dense, floor-to-ceiling arrangement for a bold, maximalist look.
To visualize your layout:
- Arrange your pieces on the floor, playing with different configurations until you find one you love.
- Take a photo of your favorite arrangement for reference.
- Create paper templates of each piece and tape them to the wall to fine-tune your layout.
Balancing Act: Spacing Secrets for Stunning Walls
Achieving the right balance is key to a polished gallery wall. Keep these tips in mind:
- Start with larger pieces as anchors, then fill in with smaller items.
- Maintain consistent spacing between pieces (typically 2-3 inches).
- Pay attention to the overall shape of your arrangement—aim for a balanced silhouette.
- Step back frequently to assess the overall composition from different angles.
Hang in There: Your Step-by-Step Guide to Installation

Tool Time: Gearing Up for Gallery Greatness
Gather these essentials before you start hanging:
- Level
- Measuring tape
- Pencil
- Hammer
- Nails or picture hangers
- Screwdriver
- Wall anchors (for heavier pieces)
- Adhesive strips (for lighter items)
Nail It: The Hanging Process Demystified
- Begin with the largest or central piece, using it as an anchor for the rest of your arrangement.
- Use a level to make sure each piece is straight before securing it to the wall.
- Work outwards from your central piece, following your planned layout.
- For heavier items, use appropriate wall anchors so they’re securely fastened.
- Step back frequently to check your progress and make adjustments as needed.
Pro tip: For a clean look, consider using a picture rail system that allows you to easily adjust and rearrange your pieces without damaging the wall.
Heavy Hitters: Securing Your Substantial Pieces
Heavier items require extra care to make sure they are securely hung. Use wall anchors suitable for your wall type (drywall, plaster, or brick) and choose the right hardware to support the weight. If you’re unsure, consult a professional or hire a Tasker to help with the installation.
The Cherry on Top: Adding Those Finishing Touches

Mix and Match Magic: Incorporating Decorative Elements
To elevate your gallery wall, consider adding:
- Floating shelves to display small objects or plants.
- Mirrors to reflect light and add depth.
- Wall sconces or picture lights for dramatic illumination.
- Textural elements like macramé or woven baskets.
Let There Be Light: Illuminating Your Masterpiece
Proper lighting can make your gallery wall truly shine:
- Use adjustable spotlights to highlight specific pieces.
- Install picture lights above larger frames for a museum-like effect.
- Consider LED strip lights behind frames for a modern, backlit look.
Make It Yours: Personalizing Your Gallery Space
Make your gallery wall uniquely yours by including personal touches and meaningful items. Rotate pieces seasonally or update your display with new finds to keep it fresh and engaging. A personalized gallery wall will reflect your style and memories, making it a cherished part of your home.
Keep It Fresh: Maintaining Your Wall of Fame

To keep your gallery wall looking its best:
- Dust frames and artwork regularly with a microfiber cloth.
- Clean glass and mirrors with a streak-free glass cleaner.
- Periodically check that all pieces are secure and make adjustments as needed.
- Consider rotating pieces seasonally or adding new items to keep your display fresh and exciting.
Frame of Mind: Wrapping Up Your Gallery Wall Journey

Creating a stylized gallery wall is a rewarding project that allows you to express your creativity and personalize your living space. By following these steps and incorporating your unique style, you’ll transform a blank wall into a captivating showcase of your life, interests, and artistic taste.
Remember, there’s no “right” way to create a gallery wall—the beauty lies in its personal nature. Take your time, enjoy the process, and don’t be afraid to experiment. Your perfect gallery wall is waiting to be discovered!
Need help creating your gallery wall masterpiece? Hire a Tasker so you can fully immerse yourself in the creative process and watch in real time as your stylized gallery wall comes to life!