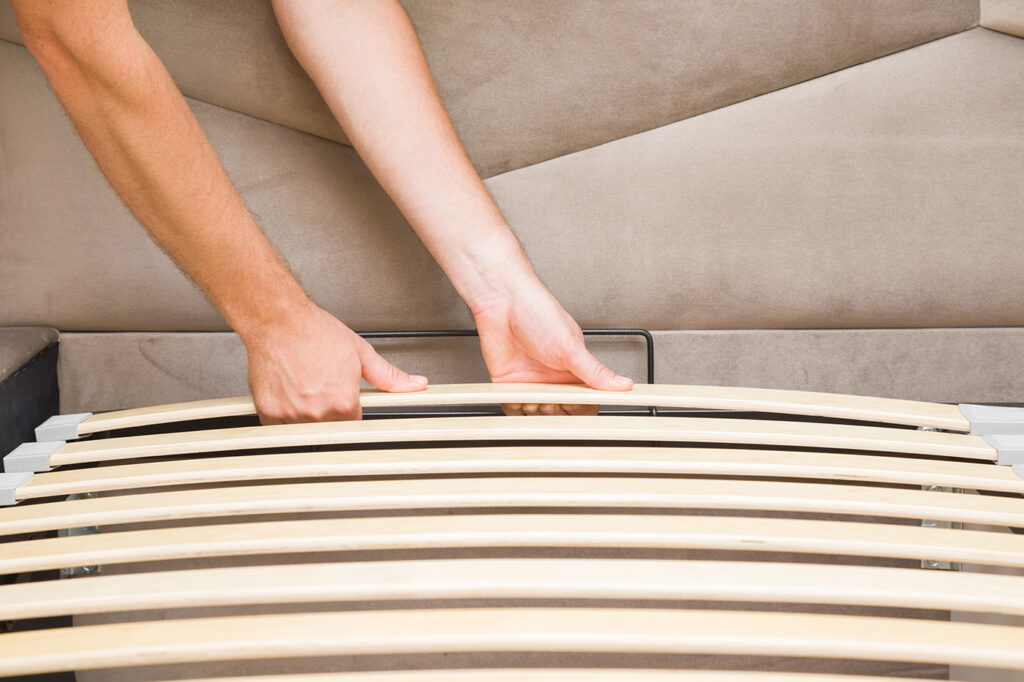
Moving to a new home can be an exciting adventure, but it often comes with the daunting task of relocating large, bulky furniture. Whether you’re moving across town or across the country, disassembling your furniture can make the process much easier and safer. Read on to discover the best practices for taking apart common household furniture, including recliners, couches, pool tables, and beds.
Why Splitting Up (Your Furniture) Is Sometimes Best

Before we dive into the specifics, let’s consider why disassembling furniture is often the best choice when moving:
1. Easier to transport:
Disassembled furniture takes up less space in moving trucks and is easier to maneuver through doorways and stairs.
2. Reduced risk of damage:
Smaller components are less likely to get scratched or dented during transit.
3. Lighter to carry:
Individual pieces are much lighter than fully assembled furniture, reducing the risk of injury during the move.
4. Better space utilization:
Disassembled furniture allows for more efficient packing in the moving truck.
Now, let’s get into the nitty-gritty of taking apart different types of furniture.
Recliner Wrangling: Disassembling Recliners

Recliners can be tricky to move due to their mechanical components. Here’s how to safely disassemble one:
Preparation
To start, clear an area and protect the floor with a drop cloth or cardboard. Then gather the below supplies:
- Screwdriver
- Allen wrench
- Pliers
- Power drill (optional)
Steps to Disassemble a Recliner
1. Remove the back:
- Locate the locking levers or bolts on the sides or back of the recliner.
- Use a screwdriver or Allen wrench to release the backrest.
- For locking clips, use pliers to disengage them.
2. Detach the base:
- Remove any screws or bolts securing the base to the frame.
- Carefully lift and separate the base from the recliner frame.
3. Disconnect electrical components (for electric recliners):
- Unplug the recliner from the power source.
- Disconnect wires or cables, noting their connections for reassembly.
4. Wrap and label parts:
- Wrap each component in protective padding or moving blankets.
- Label each part clearly to make reassembly easier.
Taking Apart Your Sofa for Easy Transport

Couches, especially sectionals, can be bulky and difficult to move. Here’s how to disassemble them:
Preparation
To start, clean an area and cover the floor to prevent damage. The gather the below supplies:
- Screwdriver
- Allen wrench
- Socket wrench
- Pliers
- Utility knife
Steps to Disassemble a Sofa
1. Remove cushions and slipcovers:
- Take off all removable cushions and slipcovers.
- Pack them separately to avoid damage or dirt.
2. Detach legs and arms:
- Use a screwdriver or socket wrench to remove screws or bolts securing the legs.
- For removable arms, locate and remove the connecting screws or bolts.
3. Separate sections (for sectional couches):
- Disconnect the sectional pieces by locating the connectors or brackets.
- Gently pull the sections apart, being careful not to damage the connecting hardware.
4. Disassemble the frame (if necessary):
- Remove additional screws or bolts to further take apart the frame components.
- Carefully dismantle the frame, keeping track of how pieces fit together.
5. Wrap and label parts:
- Wrap each piece in protective padding or moving blankets.
- Label each part to simplify reassembly.
Disassembling Pool Tables Like a Pro

Pool tables require special care due to their size and delicate components. Here’s a step-by-step guide:
Preparation
Start with clearing a spacious area and cover the floor with padding or blankets. Then gather the necessary tools:
- Socket wrench
- Flathead screwdriver
- Power drill
- Staple remover
- Utility knife
Steps
1. Remove the pockets:
- Use a screwdriver or staple remover to detach the pockets from the table.
- Keep screws and staples in a labeled bag for reassembly.
2. Take off the rails:
- Use a socket wrench to remove the bolts securing the rails to the table.
- Carefully lift and remove the rails, wrapping them in protective padding.
3. Remove the felt:
- Gently remove the felt from the table, using a staple remover if necessary.
- If you plan to reuse the felt, handle it carefully to avoid tears or creases.
4. Disassemble the slate:
- Locate and remove the screws or bolts securing the slate pieces.
- Carefully lift and separate the slate pieces (they’re heavy and fragile, so get help if needed).
- Wrap each slate piece in moving blankets or thick padding.
5. Dismantle the frame:
- Use a socket wrench and screwdriver to take apart the table frame.
- Wrap each component in protective padding and label for easy reassembly.
Taking Apart and Packing Beds

Beds can be surprisingly complex to disassemble. Here’s how to do it efficiently:
Preparation
Start by clearing the area around the bed and protect the floor. The gather the below tools:
- Screwdriver
- Allen wrench
- Pliers
- Power drill (optional)
Steps
1. Remove bedding and mattress:
- Strip the bed of all bedding, including sheets, comforters, and pillows.
- Remove the mattress and set it aside in a safe location.
2. Disassemble the bed frame:
- For platform beds:
- Remove any drawers or storage components.
- Unscrew and remove the side rails from the headboard and footboard.
- Detach the support legs or center support beam.
- For box spring beds:
- Remove the box spring and set it aside with the mattress.
- Detach the side rails from the headboard and footboard.
- Remove any support legs or center support beam.
- For adjustable beds:
- Unplug the bed from the power source.
- Disconnect any electrical components, noting their connections for reassembly.
- Follow manufacturer’s instructions for disassembling the frame and mechanical components.
3. Dismantle the headboard and footboard:
- If attached to the wall, carefully remove them.
- For large or ornate pieces, check if they can be further disassembled.
4. Wrap and label parts:
- Wrap each component in protective padding or moving blankets.
- Keep all hardware in labeled plastic bags.
- Label each part clearly to facilitate reassembly.
Packing Your Bed for Relocation
1. Prepare the mattress:
- Clean the mattress thoroughly and let it air out.
- Cover the mattress with a plastic mattress bag to protect from dirt and moisture.
- For memory foam mattresses, avoid folding and use a specialized mattress box if possible.
2. Pack the box spring:
- If the box spring can be disassembled, take it apart and pack the pieces flat.
- For non-disassemblable box springs, wrap in a protective cover similar to the mattress.
3. Secure bed frame components:
- Bundle similar-sized pieces together (e.g., side rails) and secure with packing tape or rope.
- Wrap the headboard and footboard individually in moving blankets or bubble wrap.
- Use corner protectors for ornate or easily damaged parts.
4. Organize small parts:
- Place all screws, bolts, and small hardware in sealable plastic bags.
- Label each bag clearly and tape them to the corresponding larger bed parts.
5. Pack bedding:
- Wash all bedding before packing.
- Use vacuum-sealed bags for pillows, comforters, and other bulky items to save space.
- Pack sheets and lighter bedding in regular moving boxes.
6. Label and inventory:
- Clearly label all boxes and wrapped components.
- Create an inventory list of all bed parts and packages for easy tracking during the move.
Disassembly Hacks: Clever Tips for Furniture Breakdown Success

1. Take photos before and during disassembly:
This visual record will be invaluable when it’s time to reassemble.
2. Keep all hardware together:
Use resealable plastic bags to store screws, bolts, and other small parts. Label each bag and tape it to the corresponding furniture piece.
3. Create an inventory:
List all the parts and packages to easily track everything during the move.
4. Use quality packing materials:
Invest in good moving blankets, bubble wrap, and sturdy boxes to protect your furniture pieces.
5. Don’t rush:
Take your time to make sure you’re disassembling carefully and not damaging any components.
6. Follow manufacturer’s instructions:
If available, consult the furniture’s assembly manual for specific disassembly instructions.
When DIY Won’t Do: Knowing When to Call in Help

While DIY furniture disassembly can save money, sometimes it’s best to leave it to the experts. Consider hiring professional Taskers for:
- Antique or valuable furniture that requires special care.
- Extremely large or complex pieces.
- When you’re short on time or feeling overwhelmed by the moving process.
By hiring Taskers, you can get those pesky chores and to-do’s out of the way, leaving you free to focus on the excitement of your new beginning.
Putting It All Together: Final Thoughts on Taking It All Apart

Disassembling furniture for a move doesn’t have to be a daunting task. With the right tools, a bit of patience, and these step-by-step instructions, you can safely take apart your recliners, couches, pool tables, and beds. Remember to label everything clearly, take photos for reference, and keep all hardware organized.
If you find yourself short on time or expertise, don’t hesitate to call in help. Taskers are available to assist with all aspects of your move, from furniture disassembly to reassembly in your new home.
Whether you’re moving across town or across the globe, proper furniture disassembly is key to a smooth, damage-free relocation. By following these tips and techniques, you’ll be well on your way to a successful move. Happy moving!


