IKEA 101: Where the Journey Begins
IKEA furniture has become a global phenomenon, synonymous with affordability, sleek Scandinavian design, and the infamous “flat-pack” assembly process. While the prospect of putting together those seemingly endless components can be daunting, fear not! Read on for expert tips and tricks to streamline the assembly experience, turning it from a frustrating ordeal into a satisfying DIY triumph.
Preparation: The Key to Success

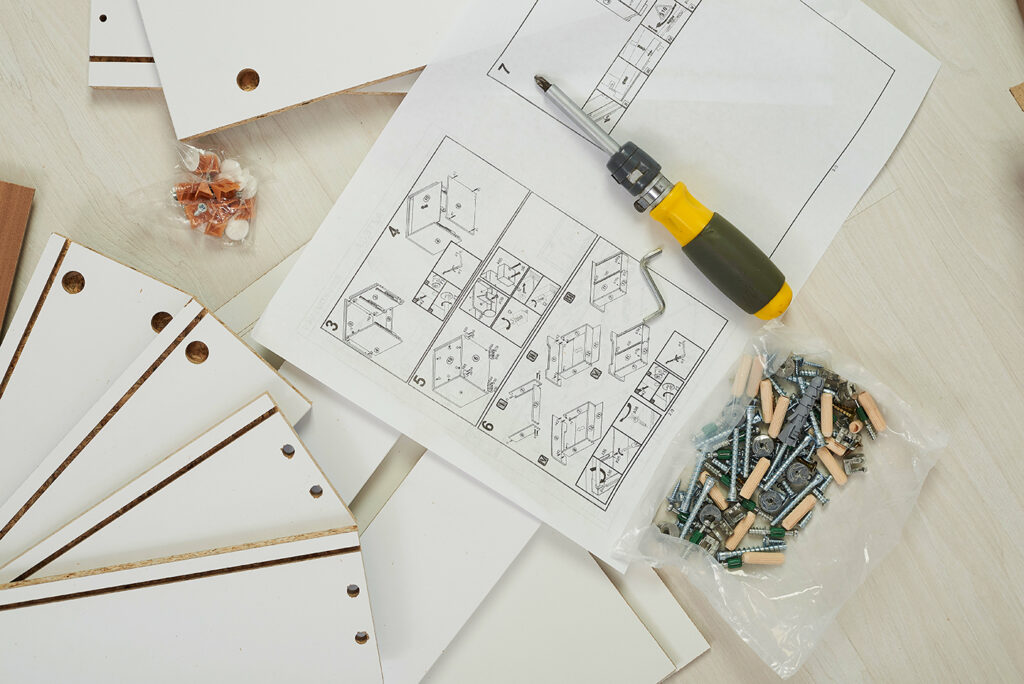
Before you even consider opening that daunting flat-packed box, proper preparation is crucial. Follow these steps to lay the groundwork for a smooth assembly:
1. Unpack and Organize:
Carefully remove all components from the box and lay them out in an organized manner. Sort the pieces by type, size, and any distinguishing features for easy identification during the assembly process.
2. Read Instructions Thoroughly (to Avoid Meltdowns):
Resist the temptation to skim or skip ahead. Thoroughly reading and understanding the instructions from start to finish is essential. Familiarize yourself with the entire process, and don’t hesitate to refer back to the diagrams throughout.
Secrets of the Furniture Assembly Experts
Once you’ve laid the groundwork, it’s time to put your assembly skills to the test. Here are some expert tips that will make the process smoother and more efficient:
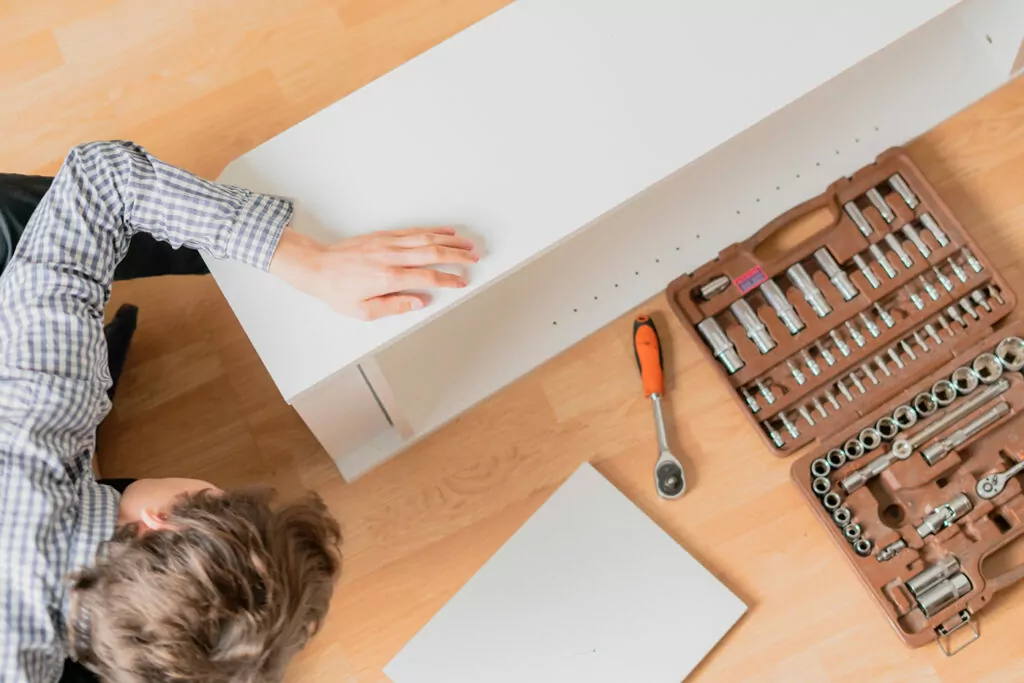
1. Use Your Own Tools:
While IKEA provides basic tools, investing in higher-quality personal tools can significantly enhance efficiency. A sturdy screwdriver with precise bits, a rubber mallet, and a set of pliers will become your best friends during the assembly.
2. Label Parts:
As you unpack, consider labeling the various components with sticky notes or masking tape. This simple trick will save you time and frustration when trying to identify specific parts during the assembly.
3. Follow the Sequence of Instructions:
IKEA’s instructions are designed to be followed step-by-step, in a specific order. Resist the temptation to jump ahead or skip steps, as this can lead to misalignment and potential damage to the furniture.

Handling Common Issues Like a Pro

Even with the best preparation and expert tips, you may still encounter some common issues during IKEA furniture assembly. Here’s how to tackle them like a pro:
1. Tighten Screws Properly:
Over-tightening screws is a common mistake that can lead to stripped threads or cracked components. Always tighten screws by hand and use a tool only for the final turns to avoid damage.
2. Align Parts Carefully:
Sometimes, holes or pre-drilled components may not align perfectly. In such cases, gently wiggle or tap the pieces into place using a rubber mallet. Avoid forcing parts together, as this can cause damage.
3. Adjustment Mastery:
Once assembled, you may notice minor gaps or misalignments. Small adjustments, such as tightening or loosening screws slightly or gently pushing or pulling components into place, can often resolve these issues.
Level Up: Advanced Tips for the Seasoned Assembler

If you’ve mastered the basics and are ready to take your IKEA assembly skills to the next level, consider these advanced tips:
1. To Glue or Not to Glue?
While not always necessary, applying a small amount of wood glue to joints and connections can add extra stability and longevity to your IKEA furniture. Just be sure to use the appropriate type of glue and follow the manufacturer’s instructions carefully.
2. Modifications and Hacks:
IKEA furniture is designed to be functional and versatile, but that doesn’t mean you can’t add your own personal touch. Simple modifications, such as adding custom hardware, painting, or even repurposing components, can transform a basic piece into something truly unique.
Safety Dance: The Floor is Not Lava

As with any DIY project, safety should always be a top priority when assembling IKEA furniture. Here are a few essential safety tips to keep in mind:
1. Anchoring for Safety:
Tall, freestanding pieces like bookcases or entertainment centers should always be securely anchored to the wall to prevent tipping over. IKEA provides anchoring hardware, but you may also want to invest in additional wall anchors for added security.
2. Proper Lifting Technique:
Some IKEA furniture components can be surprisingly heavy, especially larger pieces like dressers or bed frames. Always use proper lifting techniques, and don’t hesitate to ask for assistance when lifting or moving heavy items.
When You Need a Superhero: Unleash the Taskers

If the thought of assembling IKEA furniture still seems overwhelming, or if you simply want to free up your time for other tasks, consider hiring a Tasker. Taskers are skilled individuals who can assist with a wide range of services, including furniture assembly.
Outsourcing your to-do list to a reliable Tasker can simplify your life and allow you to enjoy your home and special occasions without the stress of DIY projects. Book a Tasker to discover how their expertise and efficiency can transform your living space as soon as today.
The Sixth Sense: Final Wisdom for IKEA Mastery

Assembling IKEA furniture doesn’t have to be a daunting task. By following these tips and tricks, you can approach the process with confidence and efficiency. Remember to prepare adequately, follow instructions meticulously, and make use of the right tools for the job. Whether you’re furnishing a new space, upgrading your current decor, or preparing for a special occasion, mastering IKEA assembly opens up a world of possibilities for creating a home that reflects your style and personality effortlessly. Happy assembling, and here’s to conquering the flat-pack challenge like a true pro!