
How to Take Apart a Recliner: Step-by-Step Guide
Whether you’re relocating, redecorating, or need to make some repairs, there are various situations when knowing how to take apart a recliner becomes necessary. Many recliners come with removable backs to make it easier to move them. The process can be somewhat perplexing, but it doesn’t have to be! We’re here to give you an easy-to-follow set of steps to walk you through how to remove the back of a recliner and reassemble it stress-free.
Before Getting Started
Before taking apart a recliner, it’s crucial to take some preparatory steps and adhere to safety precautions to ensure a smooth and secure process. Firstly, clear the area around the recliner to create ample workspace and remove any obstacles that might impede your progress. Make sure you have enough room to maneuver the furniture components. If your recliner is electric or battery-operated, disconnect the power source to prevent accidental activation during disassembly.
Safety precautions are paramount when handling furniture disassembly. Wear appropriate personal protective equipment (PPE) throughout the process, including safety goggles to shield your eyes from debris, heavy-duty gloves to protect your hands, and sturdy footwear for added stability and toe protection. Additionally, work in a well-ventilated area to minimize exposure to dust or fumes. Always proceed cautiously and ensure you have a firm grasp of the recliner’s mechanism before attempting any disassembly.
Here’s a list of tools you’ll want on hand for how to disassemble a recliner chair:
- Screwdriver set (flathead and Phillips)
- Wrench set (adjustable wrench)
- Pliers (standard and needle-nose)
- Rubber mallet or a soft-faced hammer
- Zip ties or cable ties (for managing wires, if electric)
- Plastic bags or containers for organizing and storing hardware
- Painter’s tape (for marking and labeling components)
- Small flashlight or headlamp (for better visibility in tight spaces)
Having these tools on hand will enable you to tackle the disassembly process efficiently and safely, ensuring that you can easily reassemble your recliner when moving it into a new space.
How to Disassemble a Recliner Chair or Sofa
1. Flip the Recliner
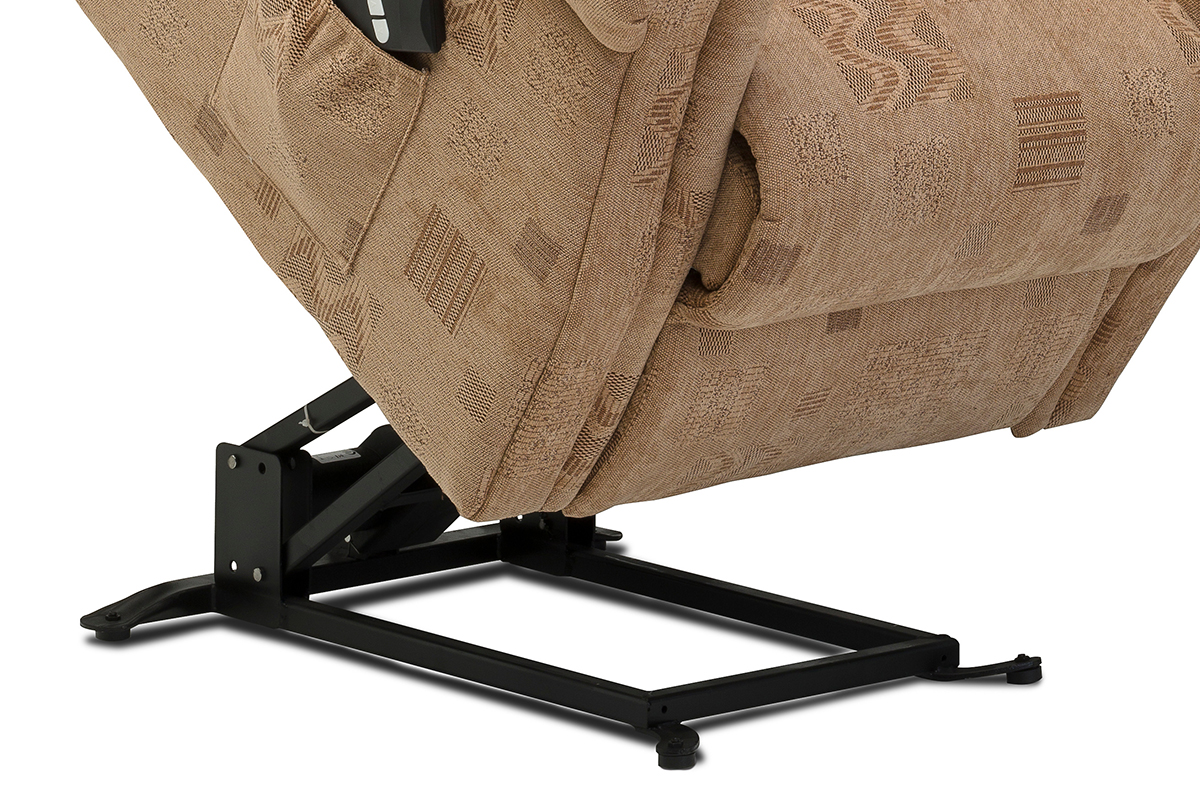
You’ll need to make sure there is plenty of space around your recliner so you can move it away from the wall and then access the back and bottom underneath. Once you can see and access the underside of your furniture, you’re ready to move on to the next step.
2. Remove the Fabric
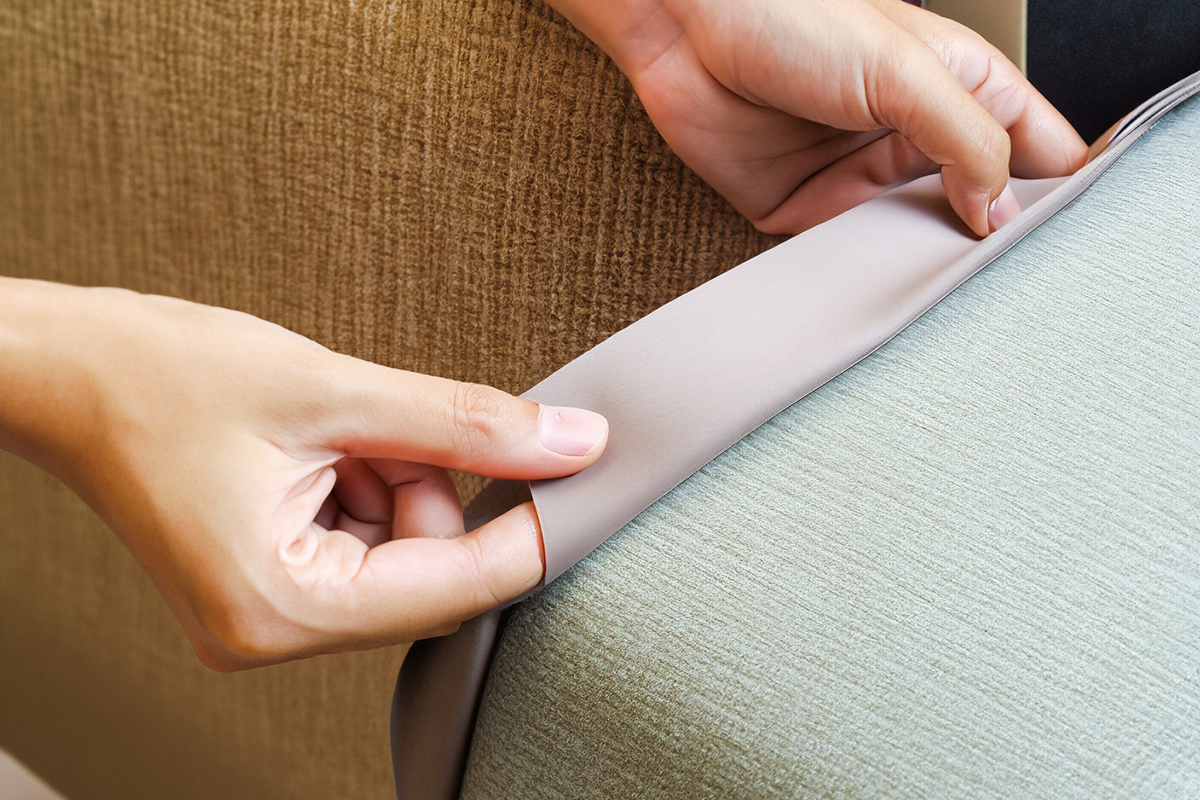
The easiest way to tell if your recliner can be disassembled is by checking to see if the fabric at the base of your chair or sofa is detachable. It will either be velcro or a button closure. If it’s stapled, you cannot disassemble the recliner without damaging it. Pull up the detachable fabric to reveal the frame.
3. Detach Individual Seats

You may find it easier to move sofas by completely disassembling them than by only removing the back. To separate individual seats on a sofa, use a wrench to remove any bolts on the underside of the couch until what holds each seat in place is gone. You’ll be left with a bar and bolts, and the seats will no longer be connected to each other.
4. Remove the Back
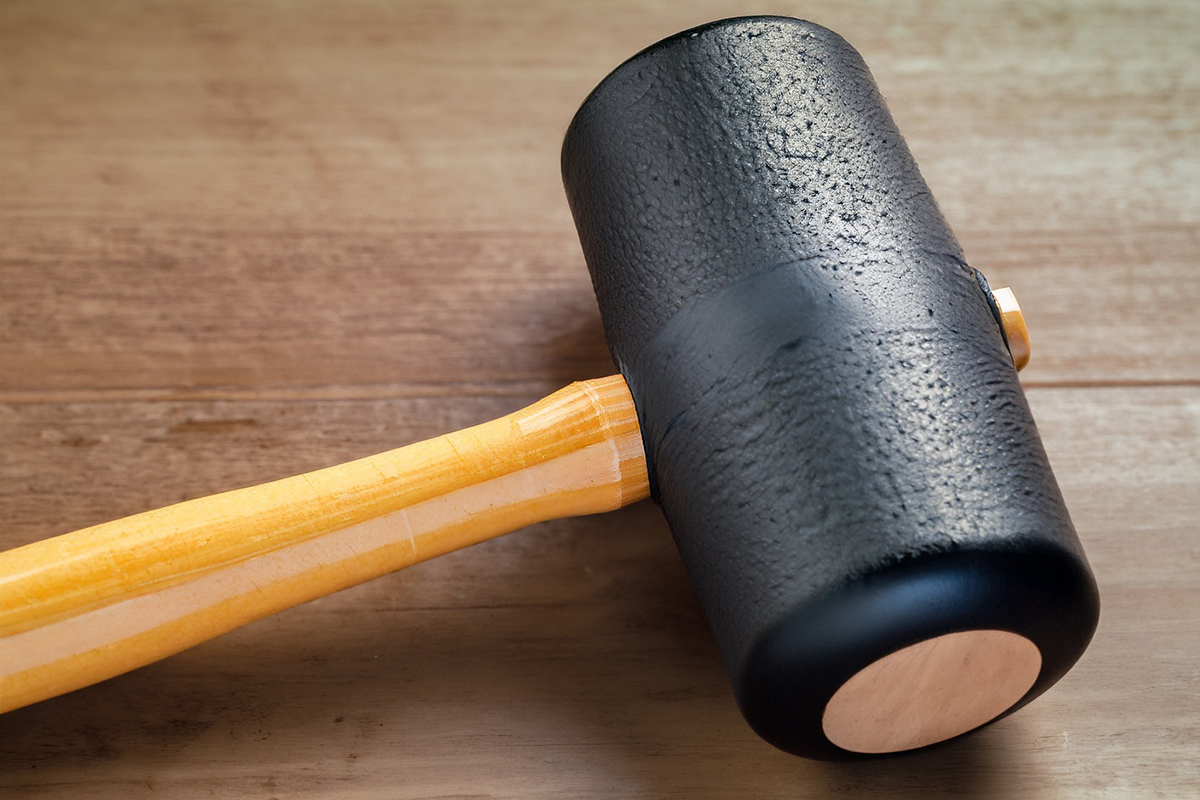
Here’s how to remove the back of a recliner, which is the most crucial part of making it easier to move. Look inside the chair to find the brackets that lock the chair or sofa together. Use your fingernail, or better, a screwdriver, to lift the bracket outside of its notch. At the same time you pry open the bracket, tap the back upwards to release the bracket. A rubber mallet may help loosen it. Repeat on the other side, and then you can slide the back off and set it on the ground.
5. Store Components Safely

Once you start taking apart a recliner, keep track of all the screws, bolts, and fasteners you remove. Use painter’s tape to label and organize them, so you can easily identify which hardware goes where during reassembly. Place the labeled hardware in plastic bags or containers for safekeeping.
How to Reassemble Your Recliner
Once you’ve successfully moved your recliner and are ready to reassemble it, the process involves reversing the steps you took during disassembly. Refer to the labeled and organized hardware to ensure a smooth reassembly.
Slide the back of the recliner so its brackets align with those on the base. Use a rubber mallet to encourage the bracket to attach completely. Then reattach any other screws, bolts, or brackets you removed earlier. Before using the recliner, test the reclining mechanism to ensure it functions correctly. Make sure it locks into place securely in both the upright and reclined positions.
Need Help?
If you find the process of disassembling and reassembling your recliner or any other furniture daunting, or if you’re planning a move and require professional assistance, consider enlisting the help of Taskers from our Furniture Assembly and Moving services. Experienced Taskers are well-equipped to handle the intricacies of furniture disassembly and reassembly, ensuring your recliner is handled with care and expertise. Whether it’s a recliner, sofa, or any other piece of furniture, Taskers can efficiently dismantle and reassemble it, saving you time and effort. Book Furniture Disassembly here.