Do you have a worn-out piece of wooden furniture that you’re considering replacing? It’s a common issue many home owners face, but when budgets are tight—or when you simply don’t want to waste a piece that is still structurally sound—refinishing furniture can be a great way to make your old wooden pieces as good as new. It can also be a perfect solution to updating your room’s style without fully reinventing it.
If you’re looking for a “refinishing furniture for beginners” resource, you’re in the right place! In this article, we’ll walk you through every aspect of the refinishing process, from sanding furniture to staining and sealing it. While the project can be moderately challenging and require you to buy particular tools and products, the choice to refinish furniture can often become a fun DIY project that is worth the effort!
Before Getting Started
Before refinishing your furniture, it’s important to do some preparatory work to make sure you’re ready for the big project.
First, you’ll need to look at the furniture’s wood and evaluate its condition. Is it rotted in any spots, or are there flaws in the wood? If it’s rotted, you’ll probably want to throw it out, but if it simply has imperfections, you can consider a finish that is less transparent than others—this can help hide any flaws. If the furniture piece has veneer on its surface, you’ll either want to remove it and refinish the solid wood below or avoid refinishing it if the bulk of the piece is constructed from composite material, which won’t hold stain, varnish, or paint well. It only makes sense to refinish furniture if the wood is up to the task!
Next, consider how you’ll eventually want to use this piece of refinished furniture. Will it be used regularly, or is it more of a decorative piece? If it will go through heavy wear and tear—including being exposed to heat, moisture, or bad weather—it will help to choose a finish that is durable and long-lasting.
Finally, don’t forget to consider the tools and space you’ll need to get the job done. When you’re stripping and sanding furniture before refinishing it, it will help to set up your workspace in an area where you can create sawdust without complication. If you’re tight on space, make sure to cover up any items you don’t want to get dirty.
You’ll also likely need the following tools:
- Face mask (for dust)
- Eye protection
- Orbital sander
- Wood stripper
- Putty knife
- Steel wool
- Wood stain or paint
- Wood sealer
- Small roller or applicator
- Disposable gloves
- Tack cloth
- Lint-free rags
- Epoxy (if needed)
- Wax filler (if needed)
How to Refinish Wood Furniture: Step-by-Step
When learning how to refinish furniture, it’s important to understand each step of the process, as outlined below. Once you’ve selected your finishing materials and have all the tools and equipment needed to start refinishing the furniture piece, it’s time to begin!
Step 1: Clean and Examine the Furniture

It’s always best to start by removing any dirt, debris, or grime from the surface of the furniture. To do this, create a mixture of dish soap and warm water. Then dip a piece of tack cloth into the mixture, and use it to clean the furniture piece. To remove any suds, rinse the piece with a damp sponge, and dry it using a microfiber towel. (Like tack cloth, microfiber towels won’t leave lint on your newly cleaned furniture.)
After you’ve finished cleaning the furniture, you can check to see if any areas of it need repairs. If needed, you can use additional supplies like wax filler or epoxy to fill in small holes or cracks in the wood.
Step 2: Remove the Old Finish

The most tedious step when you refinish old furniture tends to be the removal of old finish. On some furniture pieces, you can easily sand off the old finish—if this is your case, move on to Step 3! For other pieces, however, you may also want to use a chemical stripper, depending on how thick the old varnish or paint on your furniture piece is.
If you decide to use a chemical stripper, which can come in a spray, liquid, or gel form—you can pick whatever one seems best for your situation. Once you have a chemical stripper, follow these steps:
- Put on safety gloves and eye protection to protect against irritants.
- Using a stiff paintbrush, spread the chemical stripper over a limited area of your furniture—small enough so that the stripper won’t dry before you can remove the finish underneath it.
- Allow the chemical stripper to sit for the time directed by the manufacturer’s instructions. During this phase, it is doing the finish removal work for you, so don’t jump the gun and try to remove the old finish too early!
- Once the chemical stripper has done its job, use a putty knife to remove the loosened old finish. You can also dip medium-grade steel wool in the chemical stripper and use it to loosen any hard-to-remove spots of old finish (thick varnish, for example).
- After you’ve used the chemical stripper, you’ll need to clean off the old furniture in the way that aligns with the manufacturer’s instructions.
- When the furniture’s wood surface is totally clean, let it dry completely in a well-ventilated area.
Step 3: Sand

Now you’re ready to sand! If you’re wondering what type of sandpaper to use when refinishing furniture, it can vary. Most jobs can be done starting with 120-150 grit sandpaper, working up to a smoother 220 grit for your final sanding pass.
Once you’ve chosen your sandpaper(s), use a sanding block or orbital sander to sand the entire surface. This will remove any lingering varnish or stain that might still be clinging to the wood. Continue sanding using the finer 220-grit paper to remove any last patches that are rough to the touch.
Step 4: Seal the Wood

A good sealant can help protect furniture and give a solid base for paint or stain to stick to. After you’ve applied the sealant to every surface of the piece, use a fine-grit sandpaper (220-grit preferably!) to smooth the surface once again. Don’t forget to remove any excess dust created by the sanding process!
Step 5: Stain or Paint the Wood

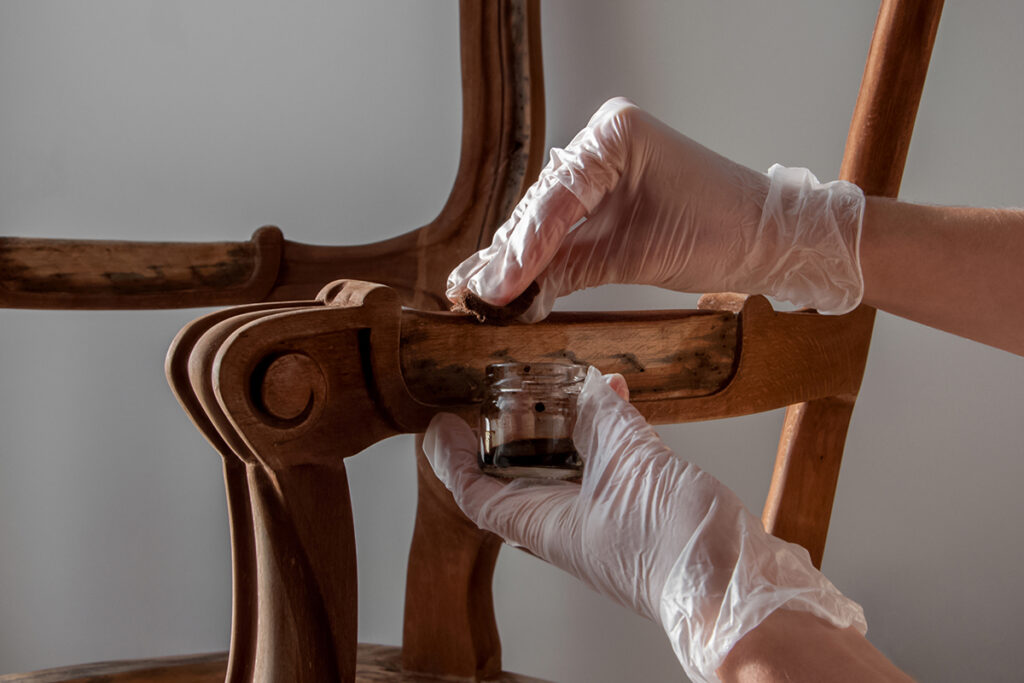
Now it’s time to apply the new stain or paint. If you’re using stain, use a paintbrush or other type of applicator to apply it to the wood. After applying the stain, use a dry, lint-free cotton rag to rub it into the wood while simultaneously removing any excess. Do this over the entire surface of the furniture. If you’re using paint, use a paintbrush to apply the new color, and allow it to dry completely. Apply a second coat if necessary.
Step 6: Apply the New Finish

The last step of refinishing furniture is to apply a varnish, which will protect your furniture for many years. This can be done in a single afternoon, and it’s quite easy—just use a paintbrush or cotton rag to apply an even coat. If you think the wood will benefit from extra protection, allow the first coat to dry, and then repeat the process.
Need Help?
If you’re not convinced that refinishing old furniture is the DIY project of your dreams, consider hiring a Tasker to help! They’ll get the job done in a flash while you simply sit back and look forward to using your newly refurbished item.


